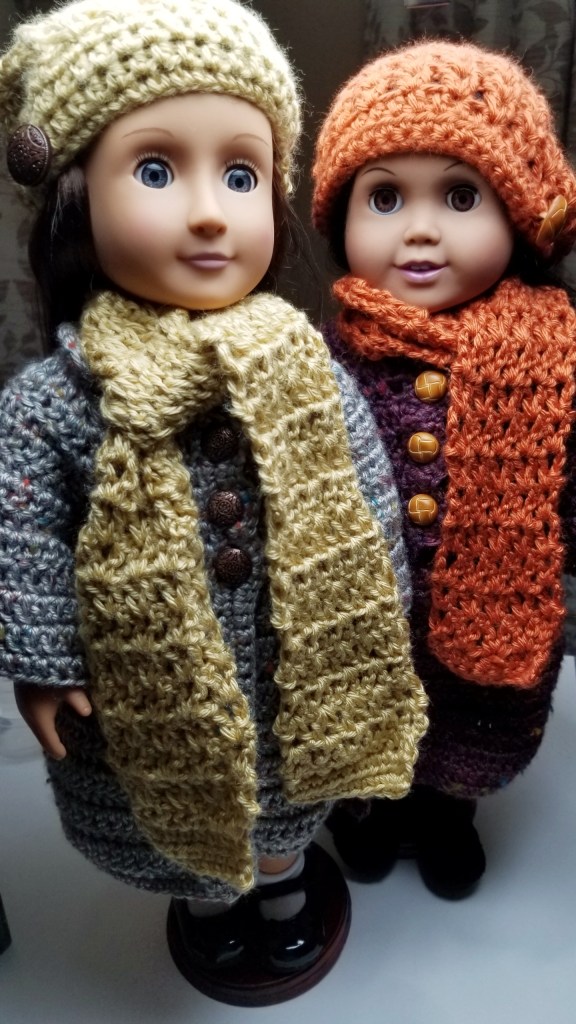
Winter Ensemble for 18″ Doll
The weather outside may be frightful, but your doll will look so delightful wearing this Winter Ensemble. The coat, scarf and slouch beanie may be worn together as a set or separately to coordinate with other outfits.I
This pattern is now FREE for you to enjoy!
MATERIALS:
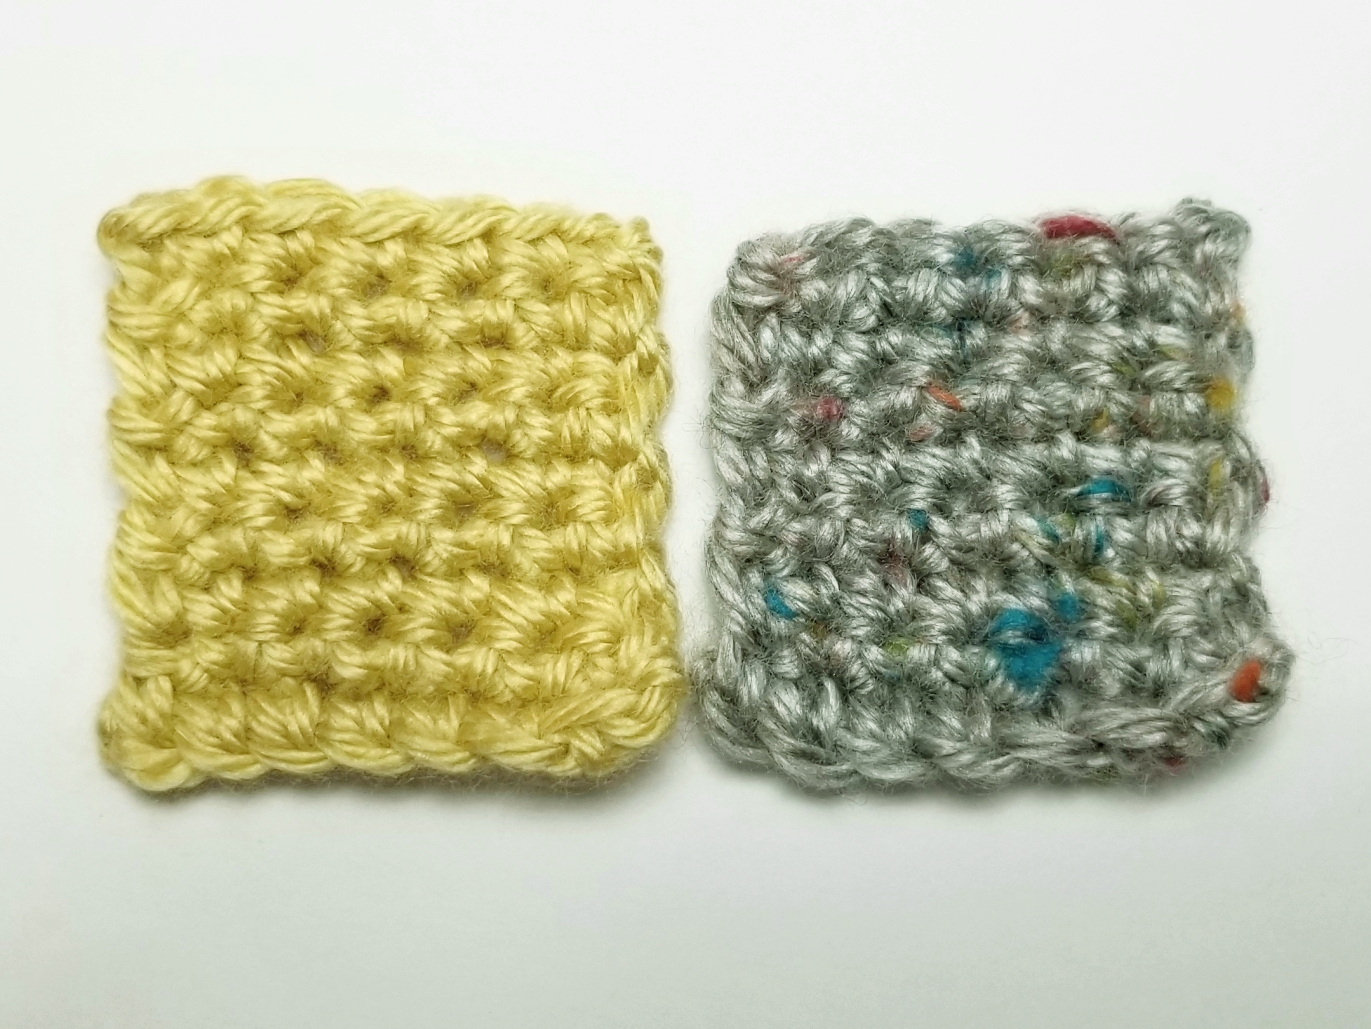
- 200-yard skein of Lion Brand Heartland Tweed for coat
- Approximately a half skein Caron Simply Soft yarn in contrasting color for scarf and beanie
- G/6 crochet hook 4.0 mm
- Plastic yarn needle
- Needle and thread to attach buttons
- 3 — 5/8-inch (16mm) buttons for coat
- 1 — 7/8-inch (22mm) button for slouch beanie
STITCHES:
- Ch – chain stitch
- Sl st – slip stitch
- Sc – single crochet
- Dc – double crochet
- Hdc – half double crochet
- Hdc-V-stitch – hdc, ch1, hdc
- Dc-V-stitch – dc, ch1, dc
GAUGE:
Lion Brand Heartland Tweed 2 inches = 7 sc x 8 rows
Caron Simply Soft 2 inches = 7 sc x 9 rows
INSTRUCTIONS FOR COAT — Model was made from 200 yards of Lion Brand Heartland Tweed.
The coat is made almost entirely by working alternating rows of hdc and dc. Therefore, when making a V-stitch at the corners of the yoke, the following stitch names will be used to designate whether to make the V-stitch using a hdc or a dc.
Special Stitches:
*hdc-V-stitch = (hdc, ch1, hdc) in same stitch.
*dc-V-stitch = (dc, ch1, dc) in same stitch.
Row 1: Ch 42, hdc in 3rd ch from hook, hdc in next 3 stitches, hdc-V-stitch (hdc, ch 1, hdc) in next ch, hdc in next 9 ch, hdc-V-stitch in next ch, hdc in each of next 9 ch, hdc-V-stitch in next ch, hdc in next 9 ch, hdc-V-stitch in next ch, hdc in next 5 ch. Total of 45 hdc, counting beginning chain.
Row 2: Ch 3 (counts as first dc of row here and throughout). Turn. Dc in each of next 5 hdc, dc-V-stitch (dc, ch 1, dc) in next ch-1 space, dc in each of next 11 hdc, dc-V-stitch in next ch-1 space, dc in each of next 11 hdc, dc-V-stitch in next ch-1 space, dc in each of next 11 hdc, dc-V-stitch in next ch-1 space, dc in each of next 6 hdc. Total of 53 dc.
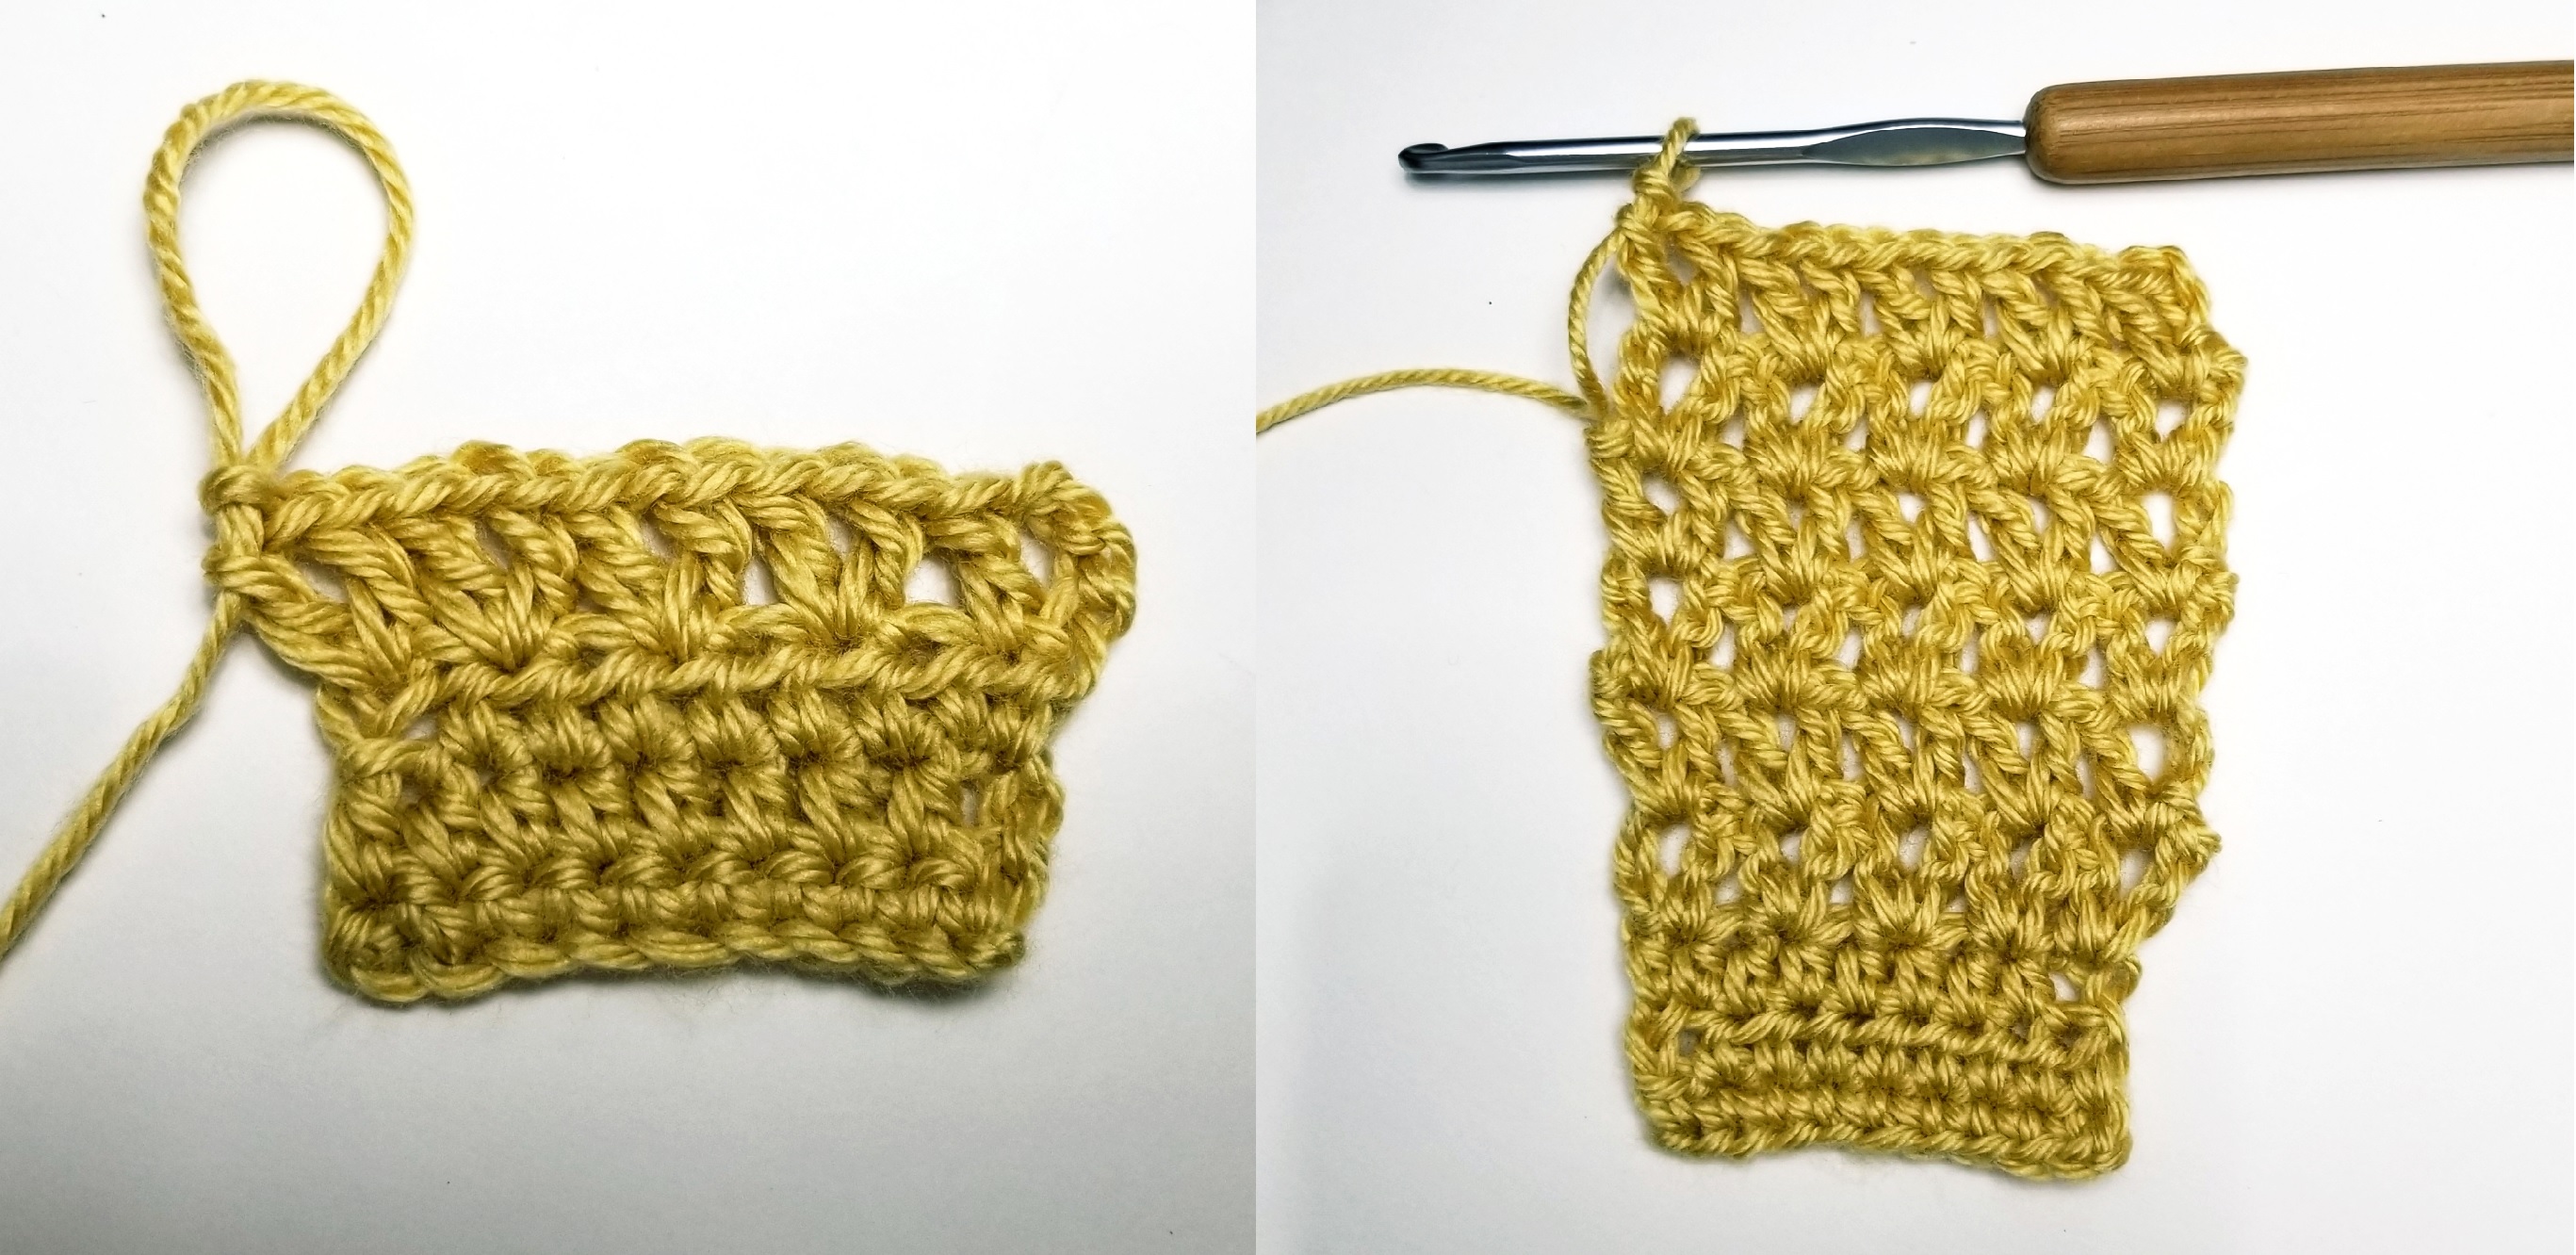
Figure 2
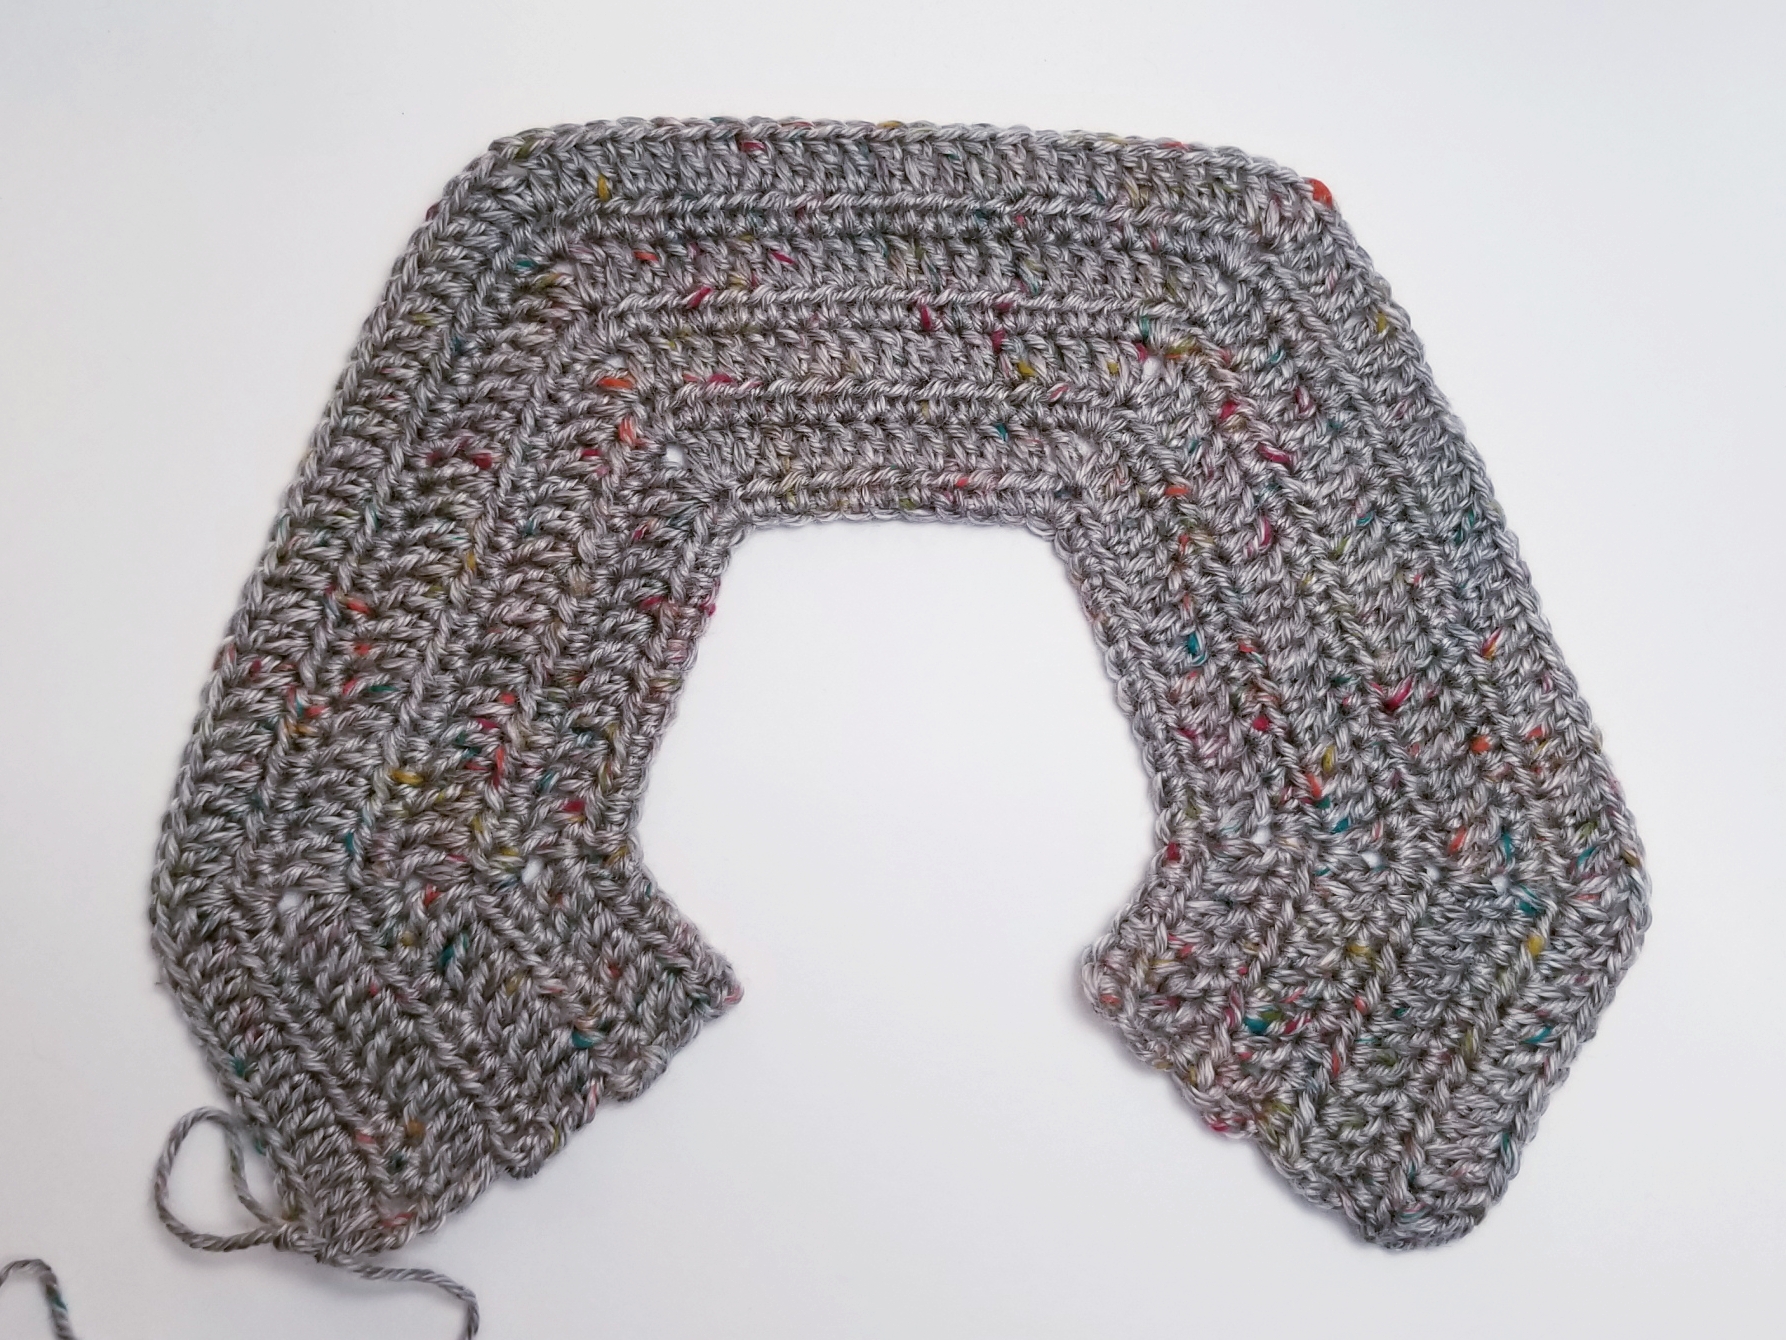
Row 3: Ch 2 (counts as first hdc of row here and throughout). Turn. Hdc in each of next 6 dc, hdc-V-stitch (hdc, ch 1, hdc) in next ch-1 space, hdc in each of next 13 dc, hdc-V-stitch in next ch-1 space, hdc in each of next 13 dc, hdc-V-stitch in next ch-1 space, hdc in each of next 13 dc, hdc-V-stitch in next ch-1 space, hdc in next 7 dc. Total of 61 hdc.
Row 4: Ch 3. Turn. Dc in each of next 7 hdc, dc-V-stitch (dc, ch 1, dc) in next ch-1 space, dc in each of next 15 hdc, dc-V-stitch in next ch-1 space, dc in each of next 15 hdc, dc-V-stitch in next ch-1 space, dc in each of next 15 hdc, dc-V-stitch in next ch-1 space, dc in each of next 8 hdc. Total of 69 hdc.
Row 5: Ch 2. Turn. Hdc in each of next 8 dc, hdc-V-stitch (hdc, ch 1, hdc) in next ch-1 space, hdc in each of next 17 dc, hdc-V-stitch in next ch-1 space, hdc in each of next 17 dc, hdc-V-stitch in next ch-1 space, hdc in each of next 17 dc, hdc-V-stitch in next ch-1 space, hdc in next 9 dc. Total of 77 hdc.
Row 6: Ch 3. Turn. dc in each of next 9 hdc, dc-V-stitch (dc, ch 1, dc) in next ch-1 space, dc in each of next 19 hdc, dc-V-stitch in next ch-1 space, dc in each of next 19 hdc, dc-V-stitch in next ch-1 space, dc in each of next 19 hdc, dc-V-stitch in next ch-1 space, dc in each of next 10 hdc. Total of 85 dc.
Row 7: Ch 2. Turn. Hdc in each of next 10 dc, hdc-V-stitch (hdc, ch 1, hdc) in next ch-1 space, hdc in each of next 21 dc, hdc-V-stitch in next ch-1 space, hdc in each of next 21 dc, hdc-V-stitch in next ch-1 space, hdc in each of next 21 dc, hdc-V-stitch in next ch-1 space, hdc in next 11 dc. Total of 93 hdc.
Row 8: Ch 3. Turn. Dc in each of next 11 hdc, dc-V-stitch (dc, ch 1, dc) in next ch-1 space, dc in each of next 23 hdc, dc-V-stitch in next ch-1 space, dc in each of next 23 hdc, dc-V-stitch in next ch-1 space, dc in each of next 23 hdc, dc-V-stitch in next ch-1 space, dc in each of next 12 hdc. Total of 101 dc.
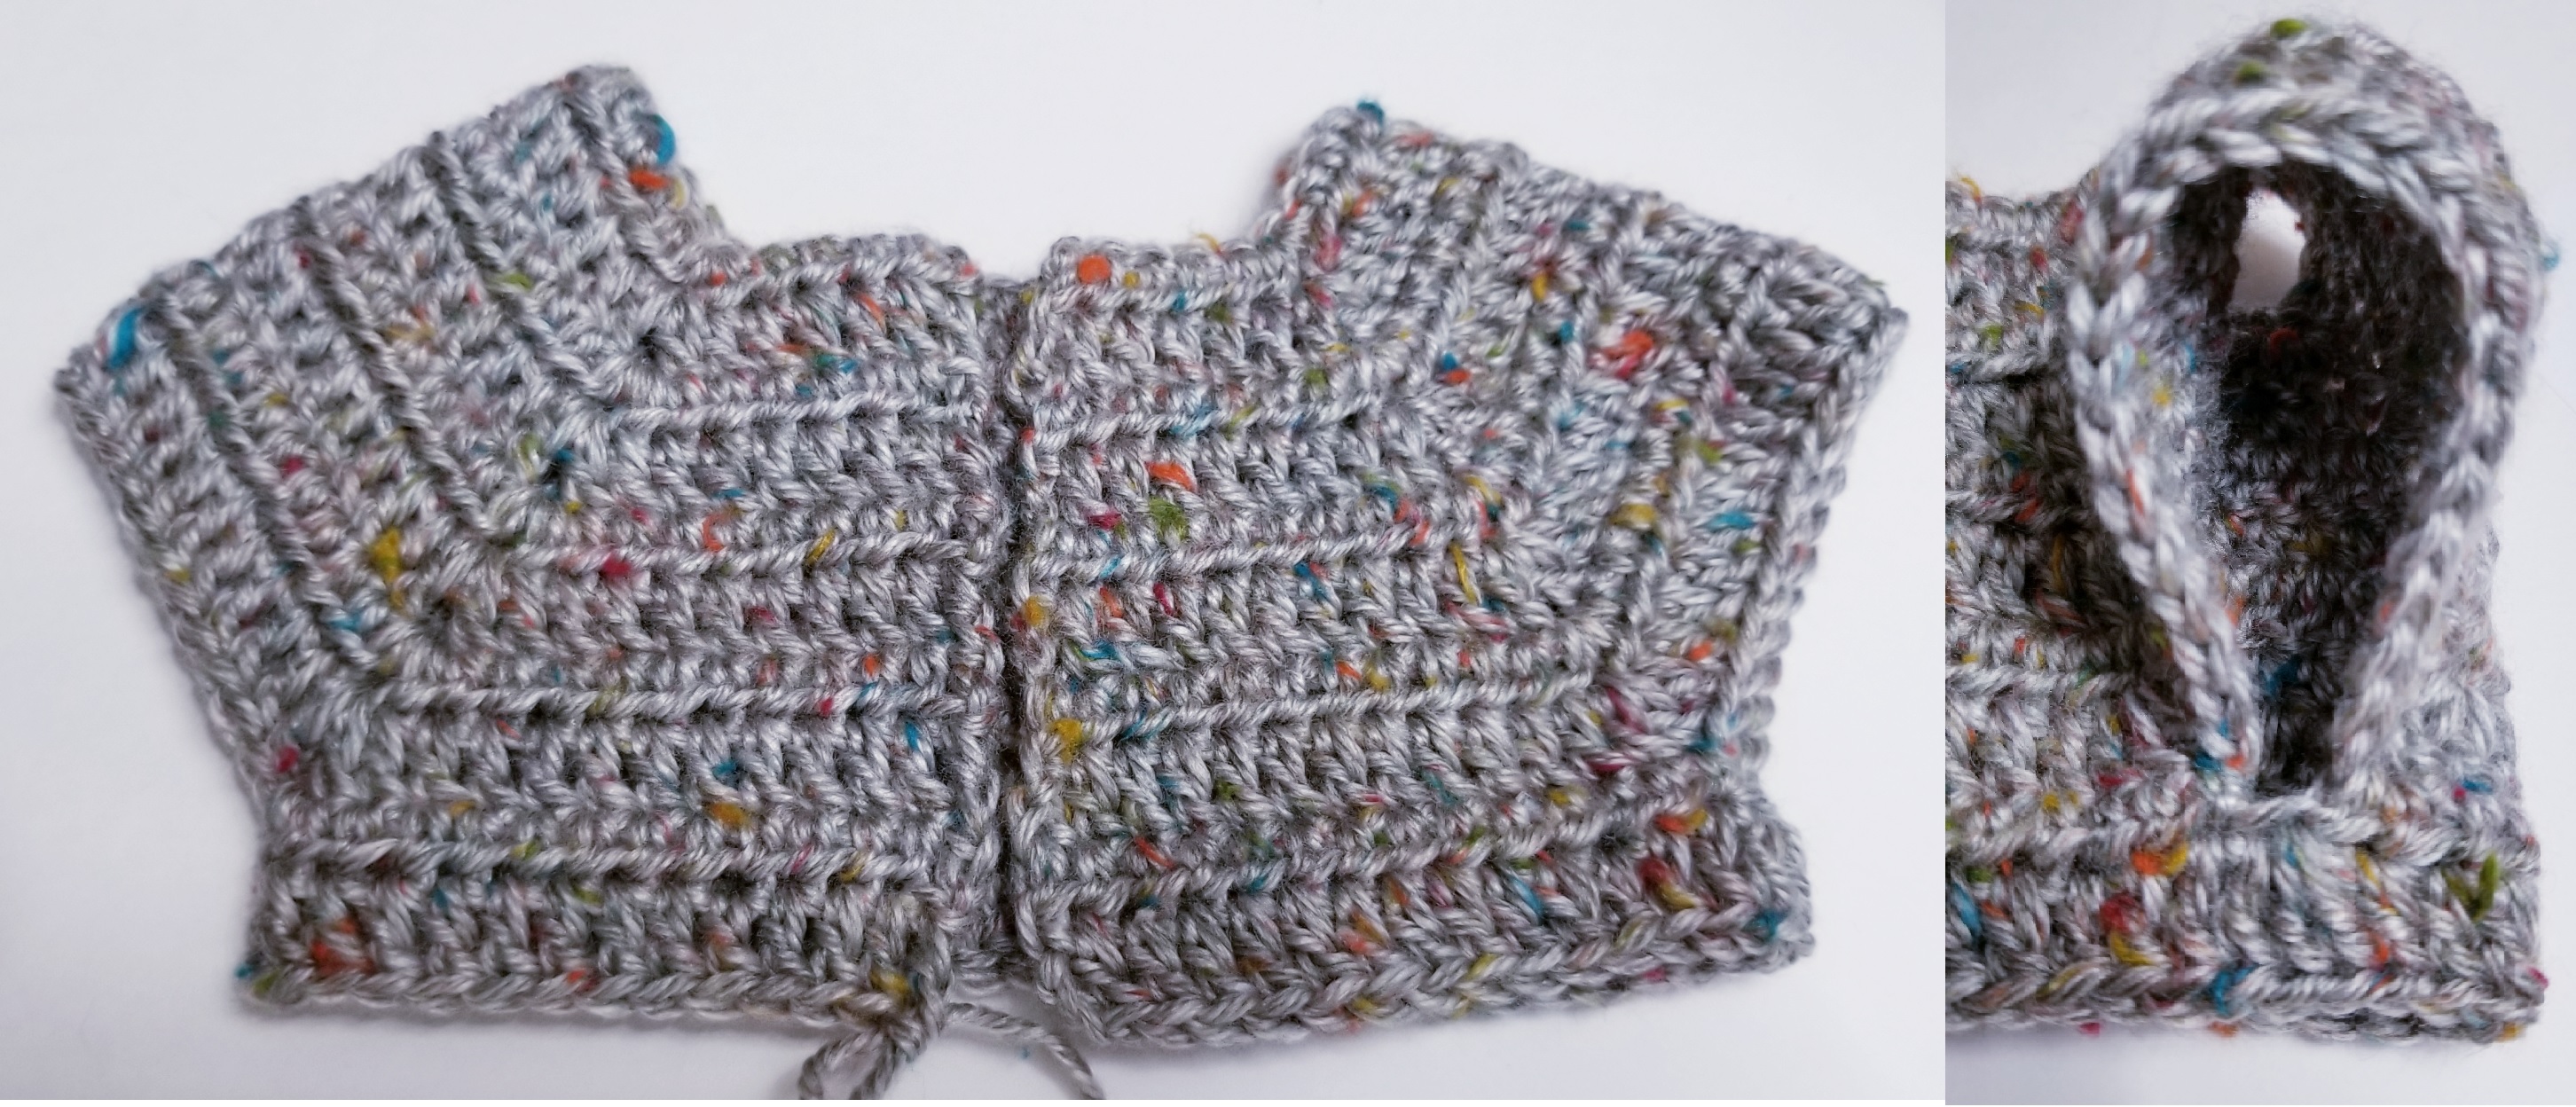
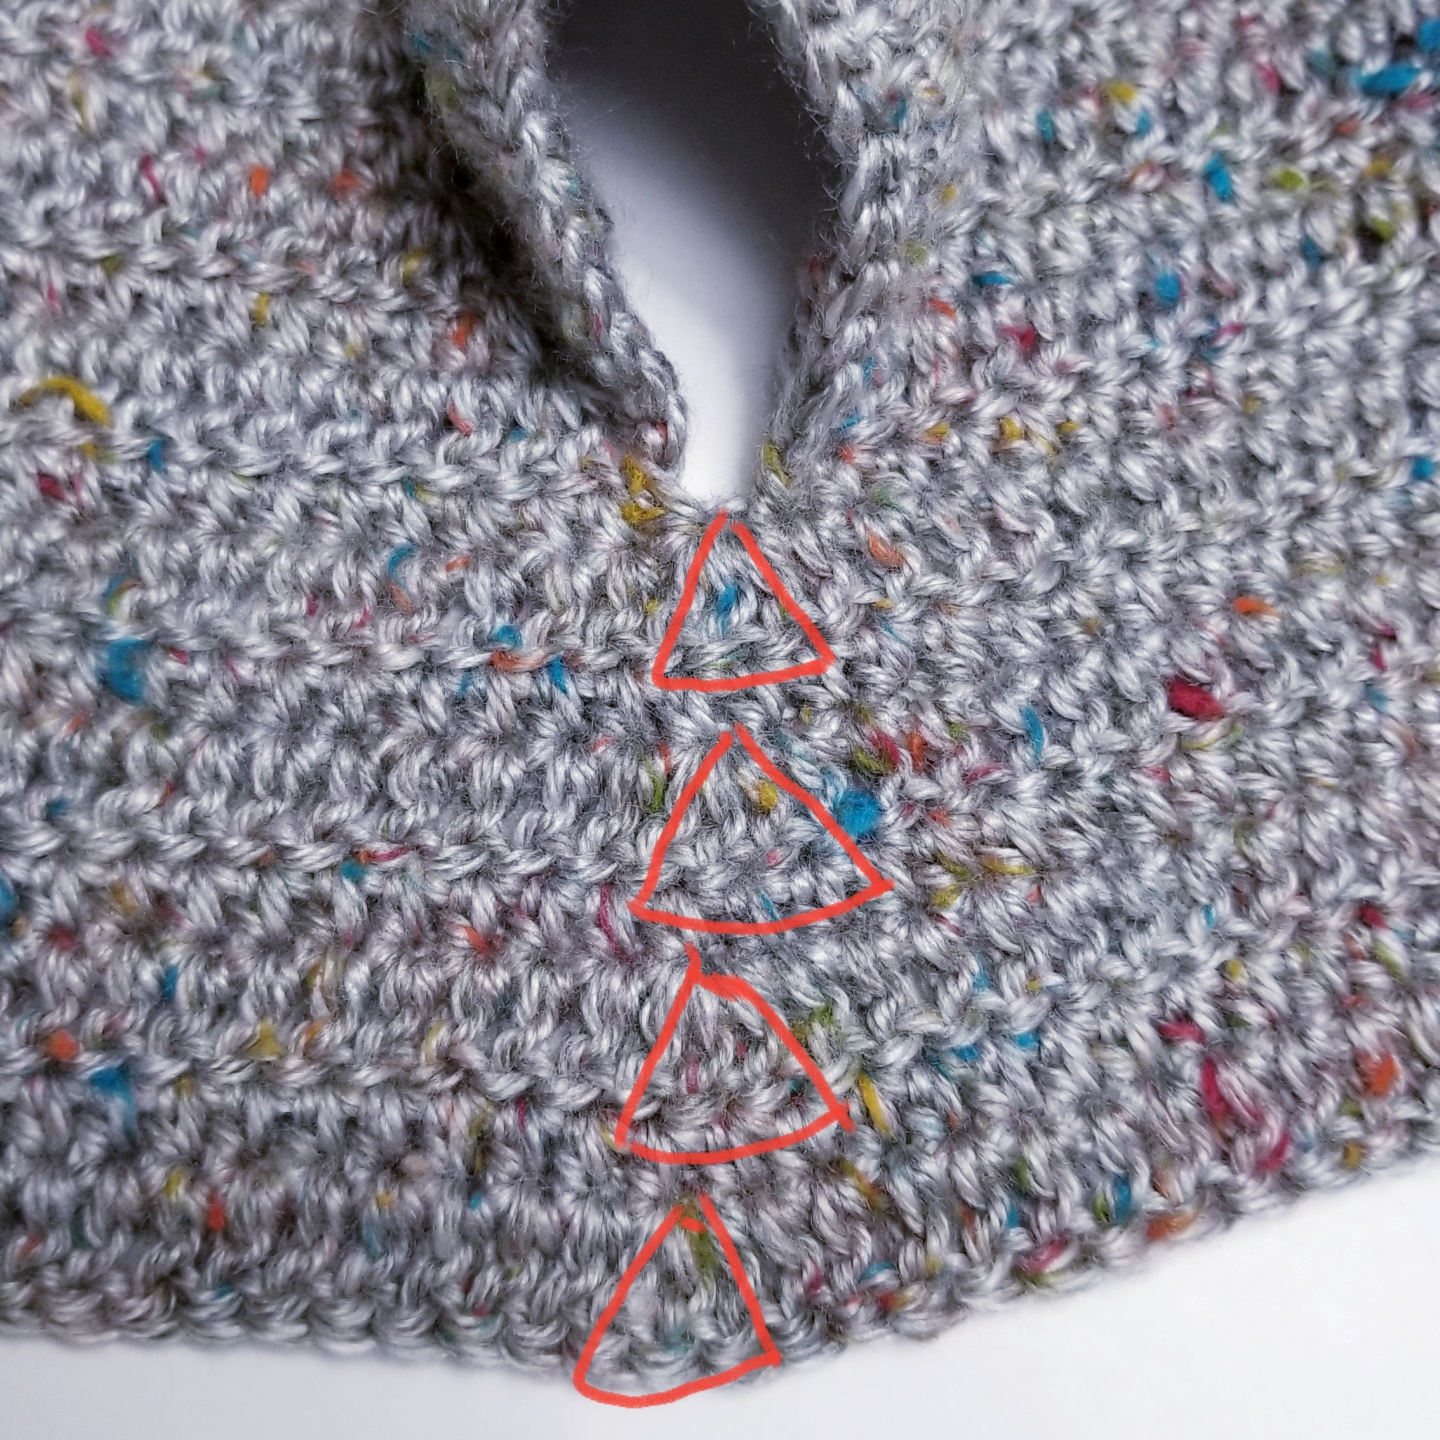
Row 9: Ch 2. Turn. Hdc in next 12 dc. Hdc in next ch-1 space, skip 23 dc to form armhole, hdc into next ch-1 space. Hdc in next 25 dc. Hdc into next ch-1 space, skip 23 dc to form arm hole, hdc in next ch-1 space. Hdc in next 13 dc to end of row. Total of 55 hdc.
Row 10: Ch 3. Turn. Dc in each of next 13 hdc across, 3 dc in next hdc (the 3 dc should be in the stitch under the armhole), dc in each of next 26 hdc across, 3 dc in next hdc (the 3 dc should be in the stitch under the armhole), dc in each of next 14 hdc across. Total of 60 dc, including beginning ch 3.
NOTE: The 3 dc will be added to every dc row to adjust for the doll’s hips.
Row 11: Ch 2. Turn. Hdc in each dc across. Total of 60 hdc.
Row 12: Ch 3. Turn. Dc in each of next 14 hdc, 3 dc in next hdc (3 dc should be aligned with the middle stitch of the previous 3 dc set—see Figure 4), dc in each of next 28 hdc, 3 dc in next hdc (3 dc should be aligned with the middle stitch of the previous 3 dc set—see Figure 4), dc in each of next 15 hdc. Total of 64 dc.
Row 13: ch 2. Turn. Hdc in each dc across. Total of 64 hdc.
Row 14: Ch 3. Turn. Dc in each of next 15 hdc, 3 dc in next hdc, dc in each of next 30 hdc, 3 dc in next hdc, dc in each of next 16 hdc. Total of 68 dc.
Row 15: Ch 2. Turn. Hdc in each dc across. Total of 68 hdc.
Row 16: Ch 3. Turn. Dc in each of next 16 hdc, 3 dc in next hdc, dc in each of next 32 hdc, 3 dc in next hdc, dc in each of next 17 hdc. Total of 72 dc.
Row 17: Ch 2. Turn. Hdc in each dc across. Total of 72 hdc.
Row 18. Ch 3. Turn. Dc in each hdc across. Total of 72 dc.
Rows 19 and 20: Repeat rows 17 and 18. Total of 72 stitches per row.
Row 21: Ch 2. Turn. Hdc in each dc across. Total of 72 hdc. Do NOT fasten off!!!
COAT — BUTTON BAND & COLLAR
Row 22: Ch 1. Working into the ends of the next 14 rows, Sc into the end of next hdc row, sc in next ch, skip one ch, sc into next ch. Repeat from * to * 6 more times. Total of 21 sc. Sc in end of next hdc, sc in next ch, ch 3, skip next ch, sc in next ch, Sc in end of next hdc. Repeat from ** to ** 2 more times.
Row 23: Ch 1. Turn. Sc in first sc, 3 sc in ch-3 space, sc in each of next 3 sc, 3 sc in ch-3 space, sc in each of next 3 sc, 3 sc in ch-3 space, sc in next 22 sc, 3 sc in corner sc. Total of 41 sc.
Sc in each of next 72 hdc along bottom of coat, 3 sc in corner ch stitch. Total of 75 sc.
Coming up other side of front coat opening… Sc in next ch, 2 sc in end of dc, sc in next ch. Repeat from * to * 9 more times. Sc in top of hdc at collar. Total of 32 sc.
Row 24: Ch 2, hdc in same stitch and in each stitch around top of the collar. Total of 43 hdc, including ch 2.
Row 25: Ch 3. Turn. Dc in each hdc across collar. Fasten off. Trim.
Use needle and thread to SEW three 5/8-inch (16mm) buttons onto coat button band, placed to correspond with button holes
COAT — SLEEVES (Work on each sleeve.)
Row 26: Working from the outside of coat, attach yarn under the arm hole in the stitch with 3dc. Ch 3, dc in same stitch. Dc in each dc around arm opening. Join w sl st into top of ch 3.
Row 27-28: Ch 3, dc in each dc around arm opening. Join with sl st into top of ch 3.
Row 29: Ch 2, hdc in each dc around arm opening. Join with sl st into top of ch 2. Fasten off. Trim.
INSTRUCTIONS FOR SLOUCH BEANIE
Model beanie & scarf together used approximately 150 yards of Caron Simply Soft. Special Stitch: dc-V-stitch = (dc, ch 1, dc)
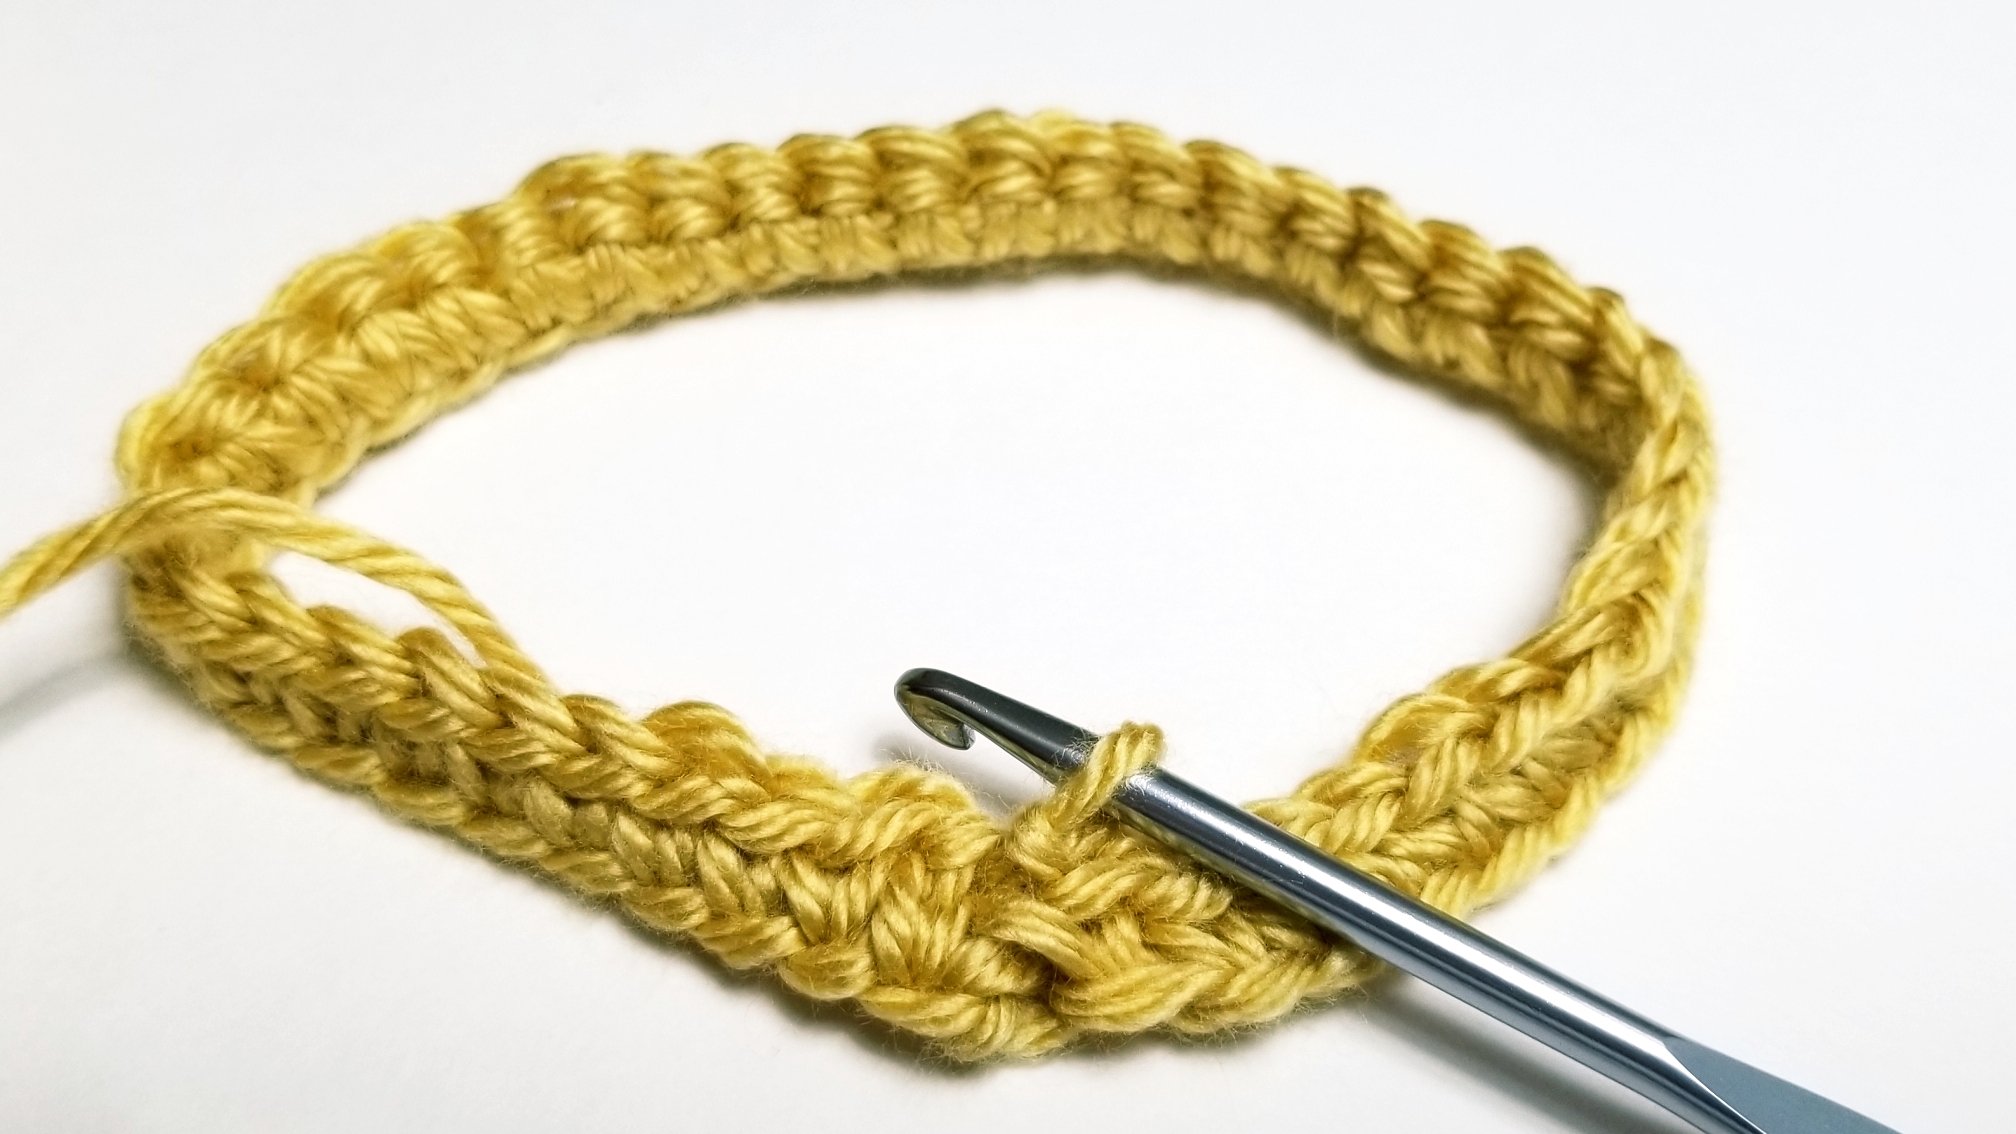
ROUND 1: Ch 41, sl st into first ch to make a ring.
ROUND 2: Ch 1, sc in each ch around and join with sl st into beginning ch 1. Total of 40 sc. At this point it is important to make sure you have an even number of stitches, AND measure that the ring fits around your doll’s head.
ROUND 3: Ch 2, hdc into each stitch around. Join with hdc into top ch of ch 2 at the beginning of round, and mark with stitch marker. Total of 40 hdc.
ROUND 4: Ch 2, hdc into each stitch around, move stitch marker up one row. Total of 40 hdc.
ROUND 5: Ch 2, hdc into each stitch around. Join with sl st into stitch with st marker. Total of 40 hdc. Remove stitch marker.
ROUND 6: Ch 4, dc in same space, skip one hdc, dc-V-stitch (dc, ch 1, dc) into next hdc. Repeat from * to * 18 times. Dc into same stitch as the beginning ch 4. Join in 3rd ch of ch 4.
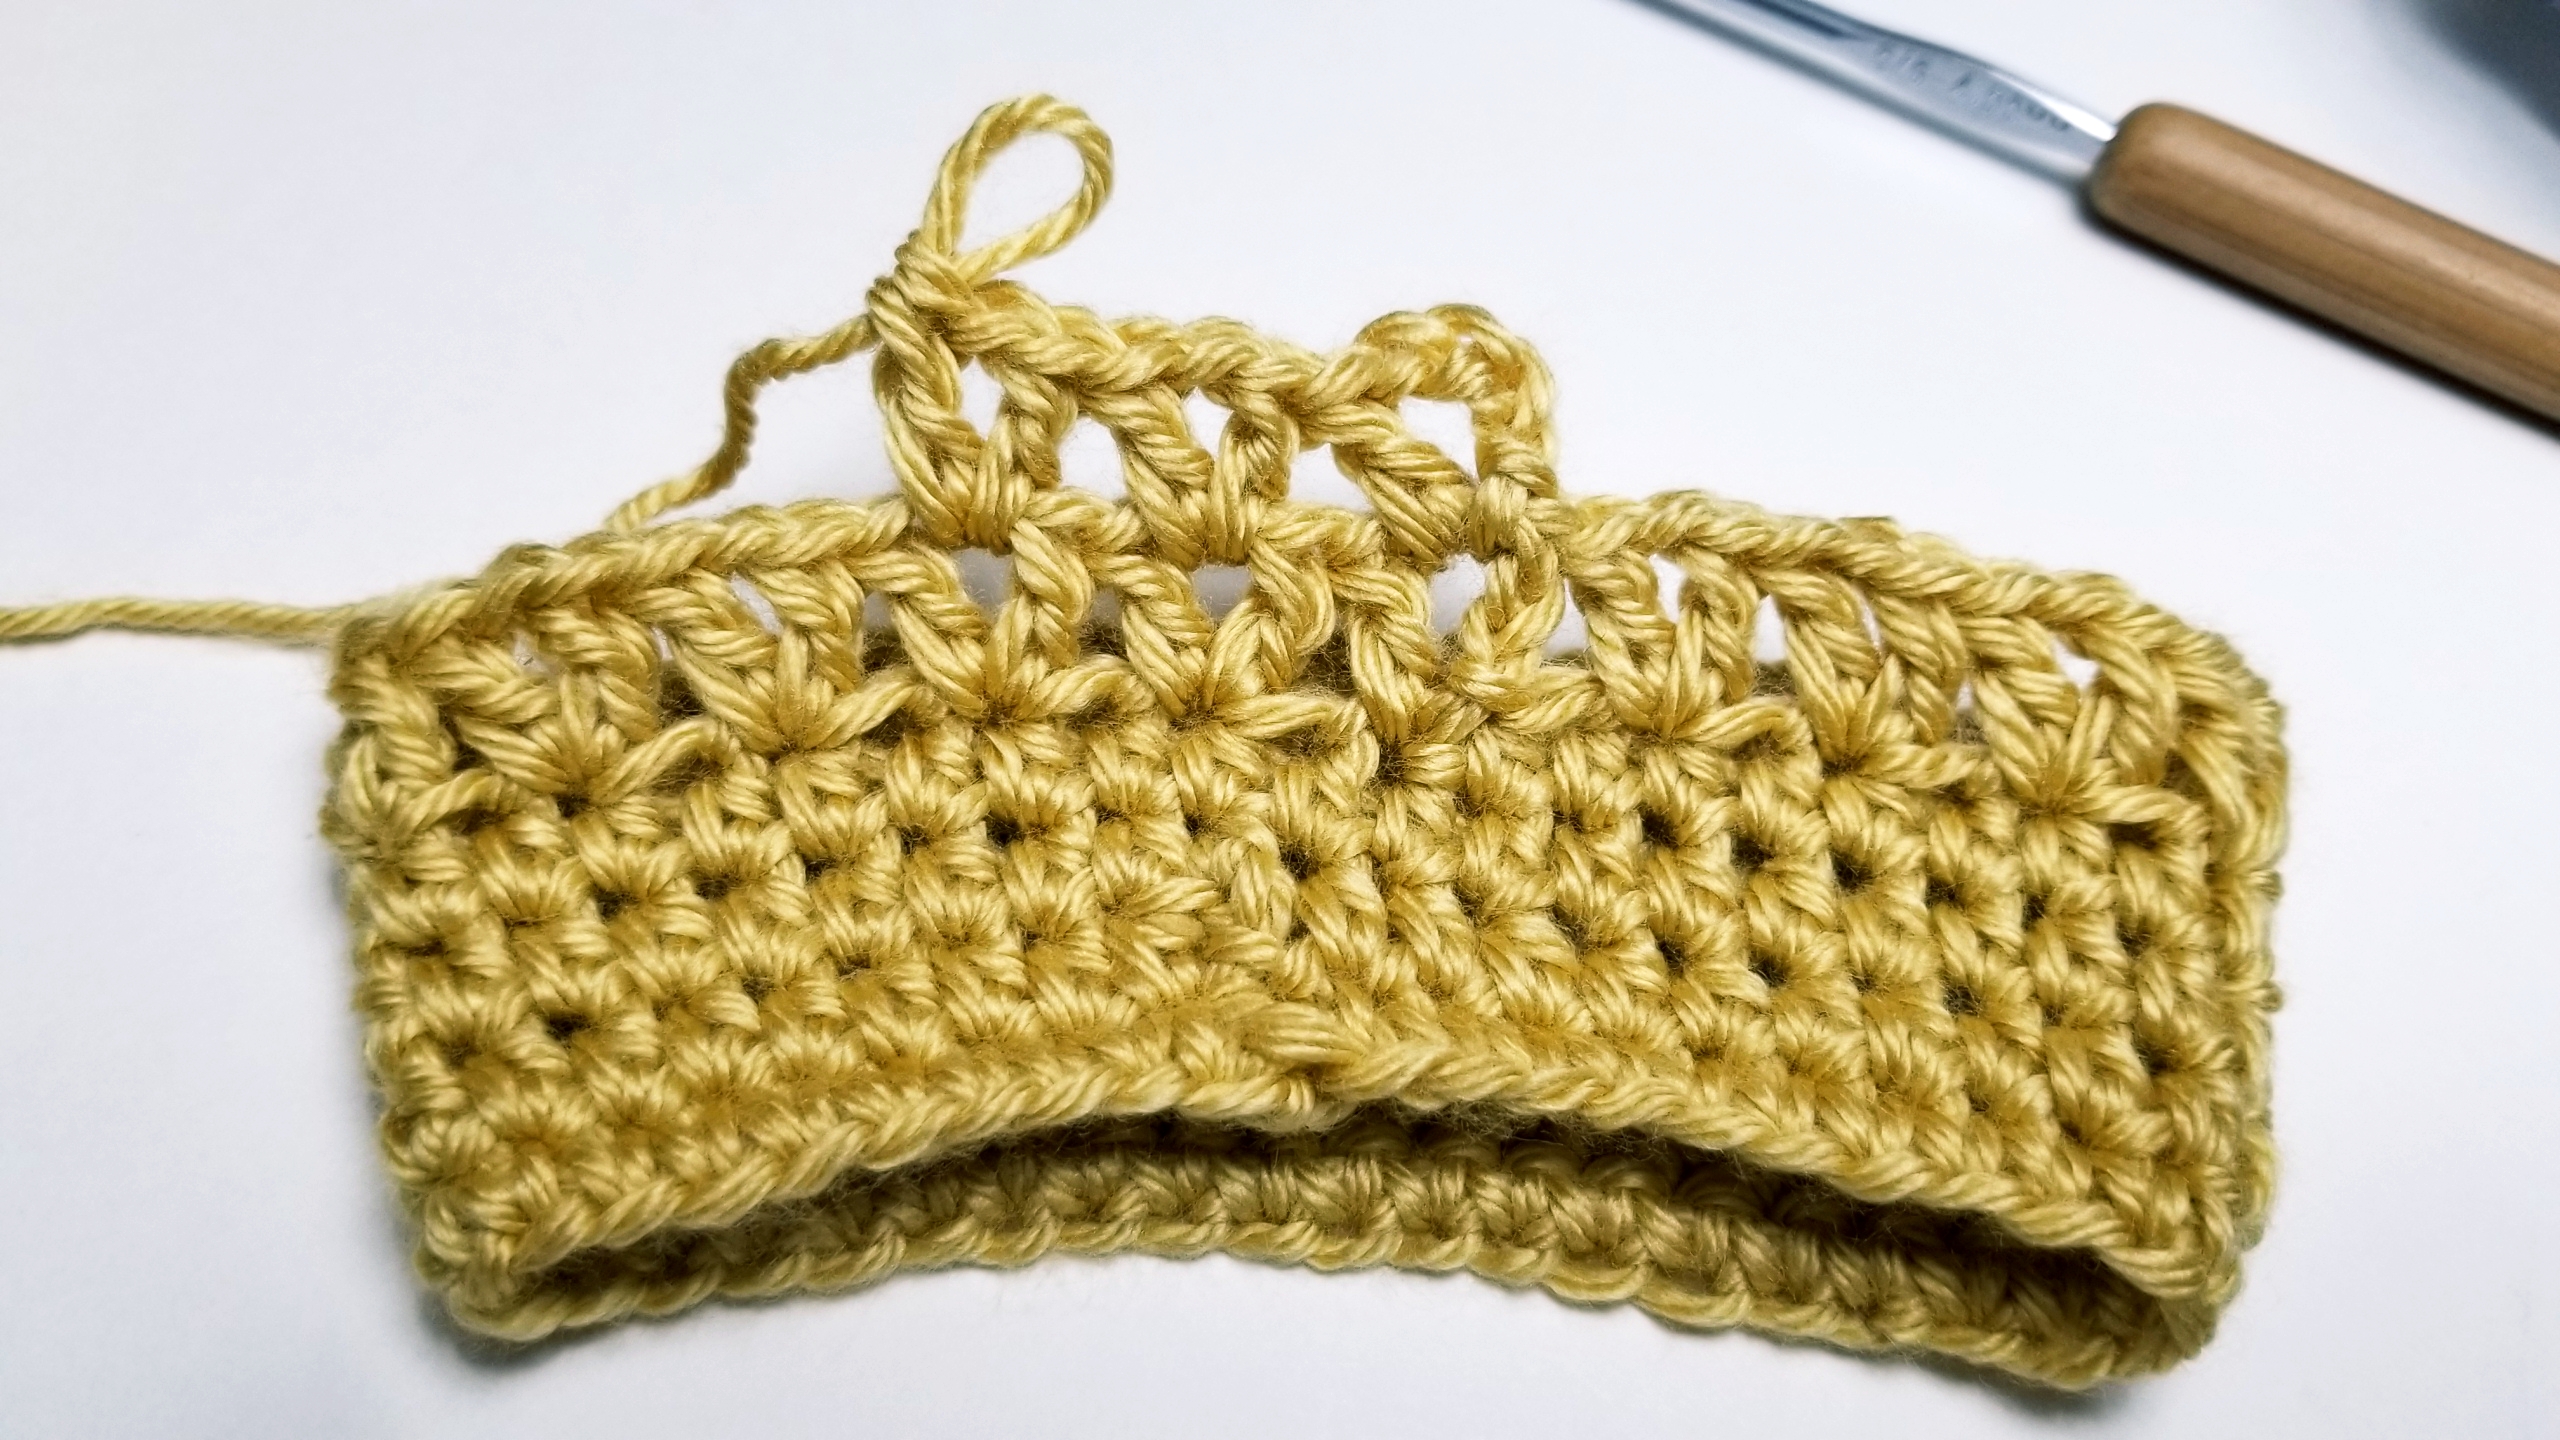
ROUNDS 7 through 15: Work the beanie upward towards the crown. Sl st into space of V-Stitch, ch 4, dc into same space. Make dc-V-stitch (dc, ch1, dc) into ch 1 space of each V-stitch around. Join with sl st in 3rd ch of beginning ch 4. Total of 20 V-stitches made per round. Do NOT fasten off!!!
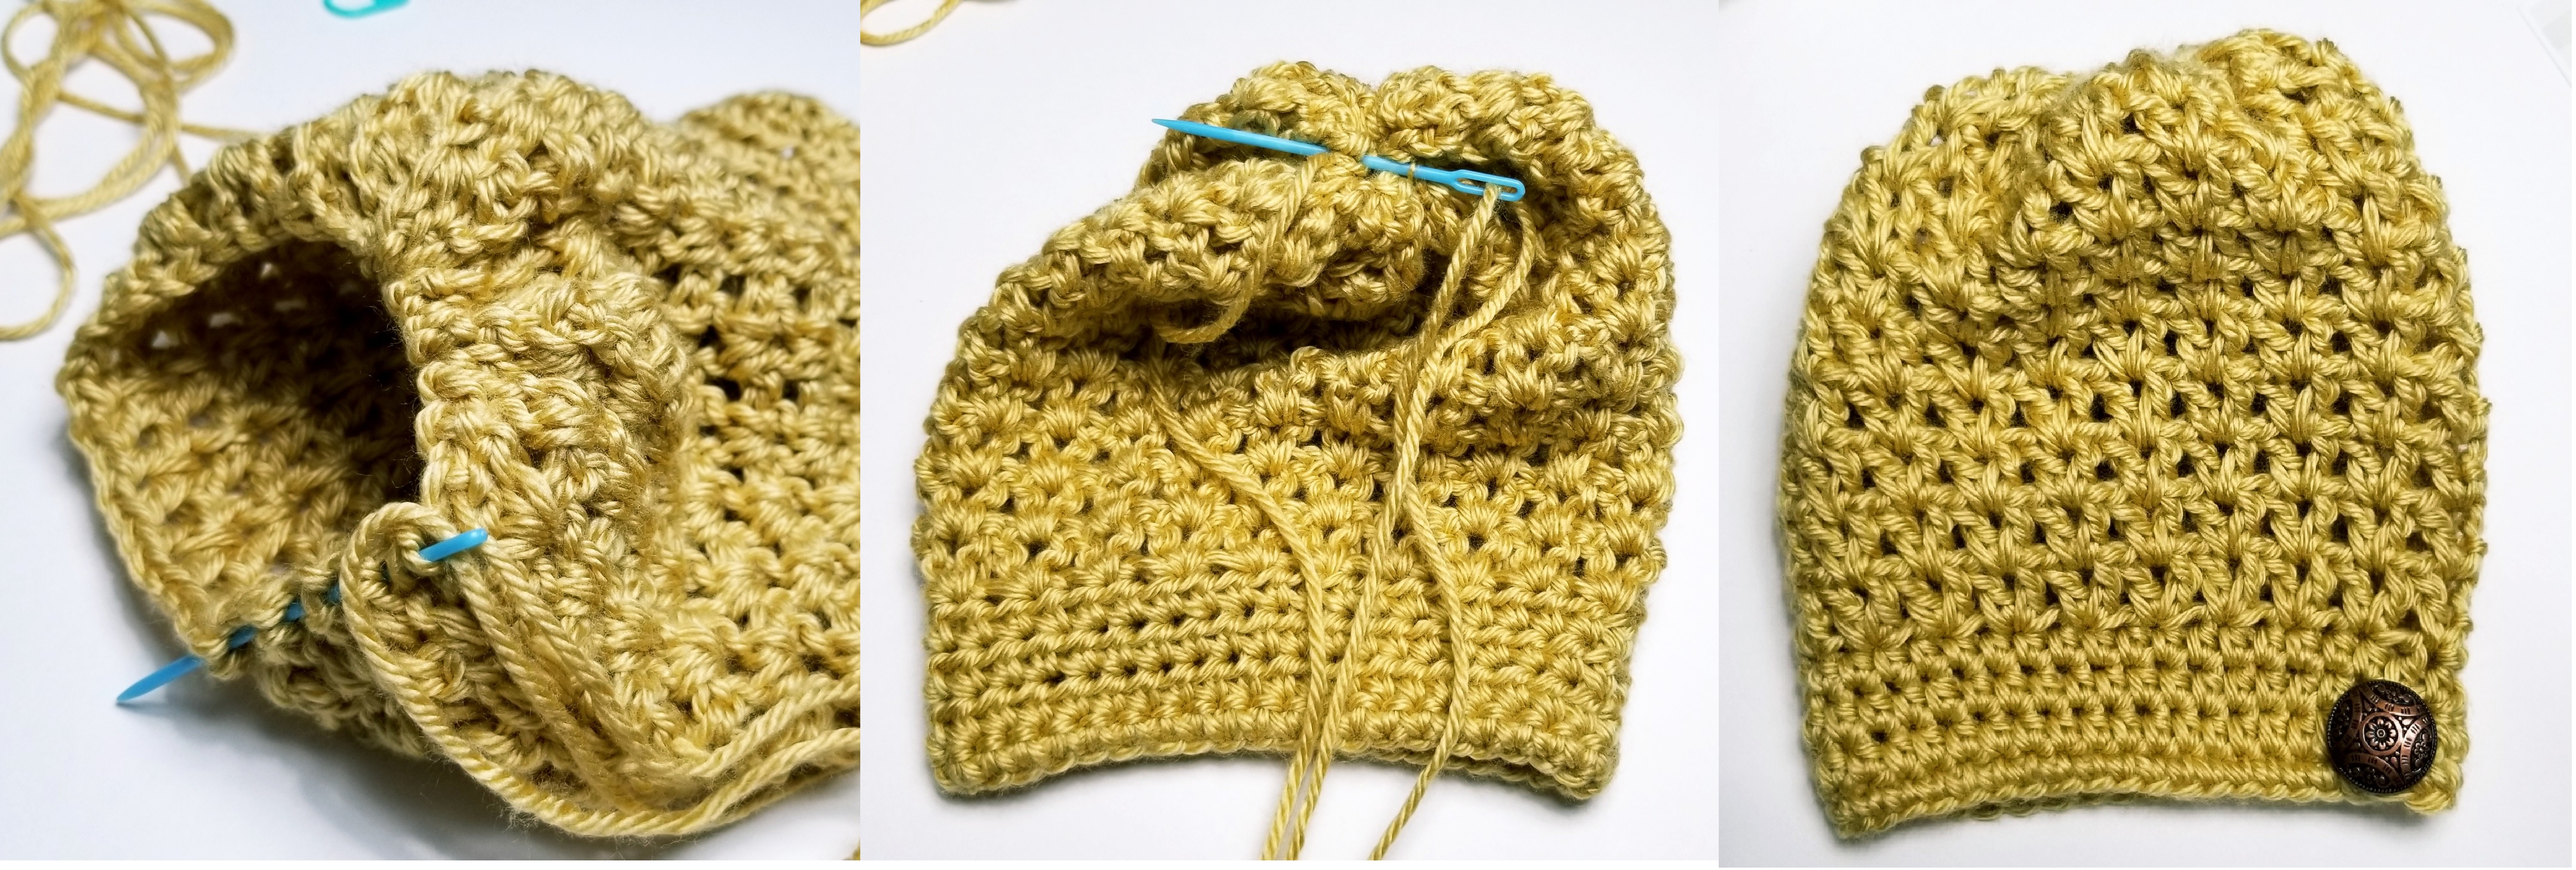
Closing Top of Beanie: Cut yarn with approximately 1-yard length of tail remaining to work with. Pull through last loop on hook and knot. Turn beanie inside out and thread plastic yarn needle with yarn tail. Sew a running stitch through the tops of the double crochets in the V-stitches around the top of beanie.
Pull closed and secure in place by sewing several stitches across the top center of beanie. Fasten off. Trim. Turn right-side out. Use needle and thread to sew 7/8-inch (22mm) button embellishment onto the hdc band at the bottom of the beanie. Position the button to hide any irregularities in the band.
INSTRUCTIONS FOR WINTER SCARF
ROW 1: Ch 10, sc in back bump of second ch from hook and in next 8 ch. Total of 9 sc.
ROW 2: Ch 2. Turn. Hdc in each sc across. Total of 9 hdc including ch 2.
ROW 3: Ch 2. Turn. Hdc in each hdc across. Total of 9 hdc including ch 2.
ROW 4: Ch 4. Turn. Dc in first hdc stitch, *skip next hdc, work dc-V-stitch in next hdc*. Repeat from * to * 3 more times. Total of 5 dc-V-stitches.
ROWS 5 through 52: Turn. Sl st to ch 1 space. Ch 4, dc in same space. Work dc-V-stitch in each ch-1 space across. (Lengthen or shorten the scarf by adding or subtracting the number of rows. Remember that scarves and buttons are safety hazards for younger children under 4 years old.
ROW 53: Ch 2. Turn. Hdc in each dc across, including 3rd ch of ch 4. Total of 10 hdc
ROW 54: Ch 2. Turn. Hdc in each hdc across. Total of 10 hdc.
ROW 55: Ch 1. Turn. Sc in each hdc across. Total of 10 sc. Fasten off. Trim.
© 2017 to present Patricia J Angus of Granny’s Crochet Shoppe.
All rights reserved.
Pattern and photos may not be reproduced or distributed in any manner. Please make as many winter ensembles as you desire to sell in your shops and for fundraisers! Please include a link to http://grannyscrochetshoppe.com when possible. THANK YOU!
