Mermaid Tail for 18″ and 14.5″ Doll
This is a FREE PATTERN for you to Enjoy!

NEW — Adjustments for 14.5 inch dolls included!
This crocheted mermaid tail is a MUST for all the little dolls in your life. Sized to fit 18- inch dolls such as American Girl and others. Use Read Heart Super Saver yarn, or other everyday variety, and this mermaid should better withstand most any adventure your doll may encounter!
This pattern was designed to be more of a mermaid blanket for the doll and something that can be worn up higher on the doll body. You can adjust the hook size or number of rows on the body tube if you would like to shorten the tail.
*Please Note: (Adjustments for 14.5 inch doll (such as a American Girl Wellie Wisher doll will be written in italics and enclosed in parenthesis throughout.)
MATERIALS:
- Approximately 200 yards* Red Heart Super Saver Yarn. My favorite results are with the colors Icelandic and Wildflower. (Caron Simply soft yarn recommended for 14.5 inch doll.)
- 1-yard Red Heart Boutique Sashay Metallic OR 1-yard ribbon in coordinated color.
- H / 5.00 MM crochet hook (G / 4.00 MM for 14.5 inch doll)
- Plastic Yarn needle
GAUGE: 7 sc x 7 rows = 2 inches for 18 inch doll
STITCHES:
- ch = chain stitch
- sc = single crochet
- hdc = half double crochet
- dc = double crochet
- sl st = slip stitch
- dc2tog = double crochet 2 together
Tail is worked in rounds beginning at the waist down to the feet.
INSTRUCTIONS FOR BODY:
Begin by making the WAISTBAND.
Round 1: Ch 54 (36), join with sl st into 1st ch to form a ring.

Round 2: Ch 1. Sc in joining stitch. Sc in each stitch around, working in excess yarn from beginning chain. Join with sl st into top loop of beginning ch 1 of round. Total of 54 (36) sc. It is important to end up with 54 (36) sc.

Round 3: Ch 4 (counts as 1 dc and 1 ch), skip next sc, *dc into next sc, ch 1, skip next sc* Repeat from * to * 25 (16) more times. Join with sl st into top of ch 3. Total of 27 (18) dc and 27 (18) spaces.
Round 4: Ch 1, sc into joining stitch at top of ch 3. Sc in each ch 1 and dc around. Join with sl st into first stitch of round. Total of 54 (36) sc.

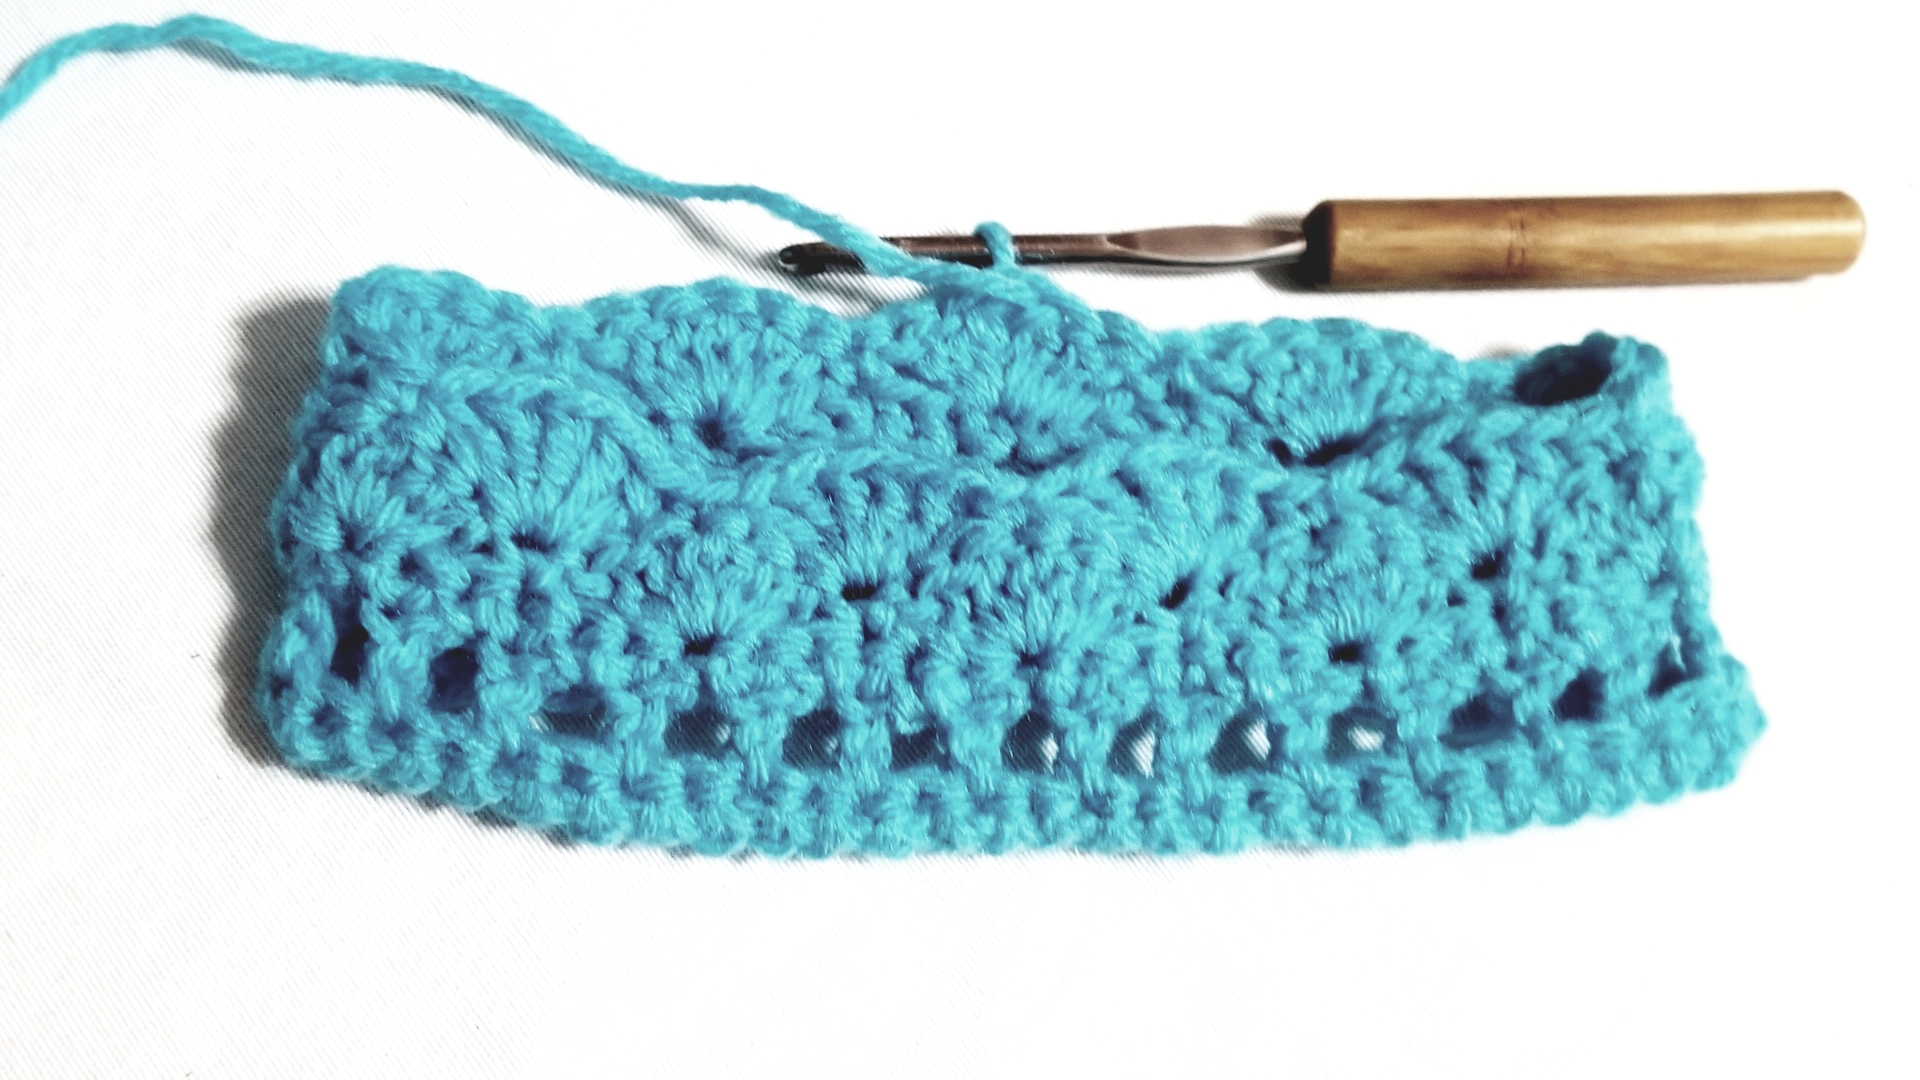
Begin working on BODY TUBE:
Round 5: Ch 1, sc into same joining stitch as ch 1, skip 2 sc, 5dc in next sc, *skip 2 sc, sc in next sc, skip 2 sc, 5dc in next sc * Repeat from * to * 7 (4) more times around ring. Join with sl st into 1st sc of round. 9 (6) shells made. Each row will have 9 (6) shells throughout pattern.
Round 6: Ch 3, TURN. 2dc in same joining stitch as ch 3, skip 2 dc, sc in next dc (the middle dc of shell), skip 2 dc, *5dc into sc, skip 2 dc, sc in next dc (the middle dc of shell), skip 2 dc*. Repeat from * to * 7 (4) more times. 2dc more in the same sc as ch 3 at beginning of round. Join with sl st in top of ch 3.
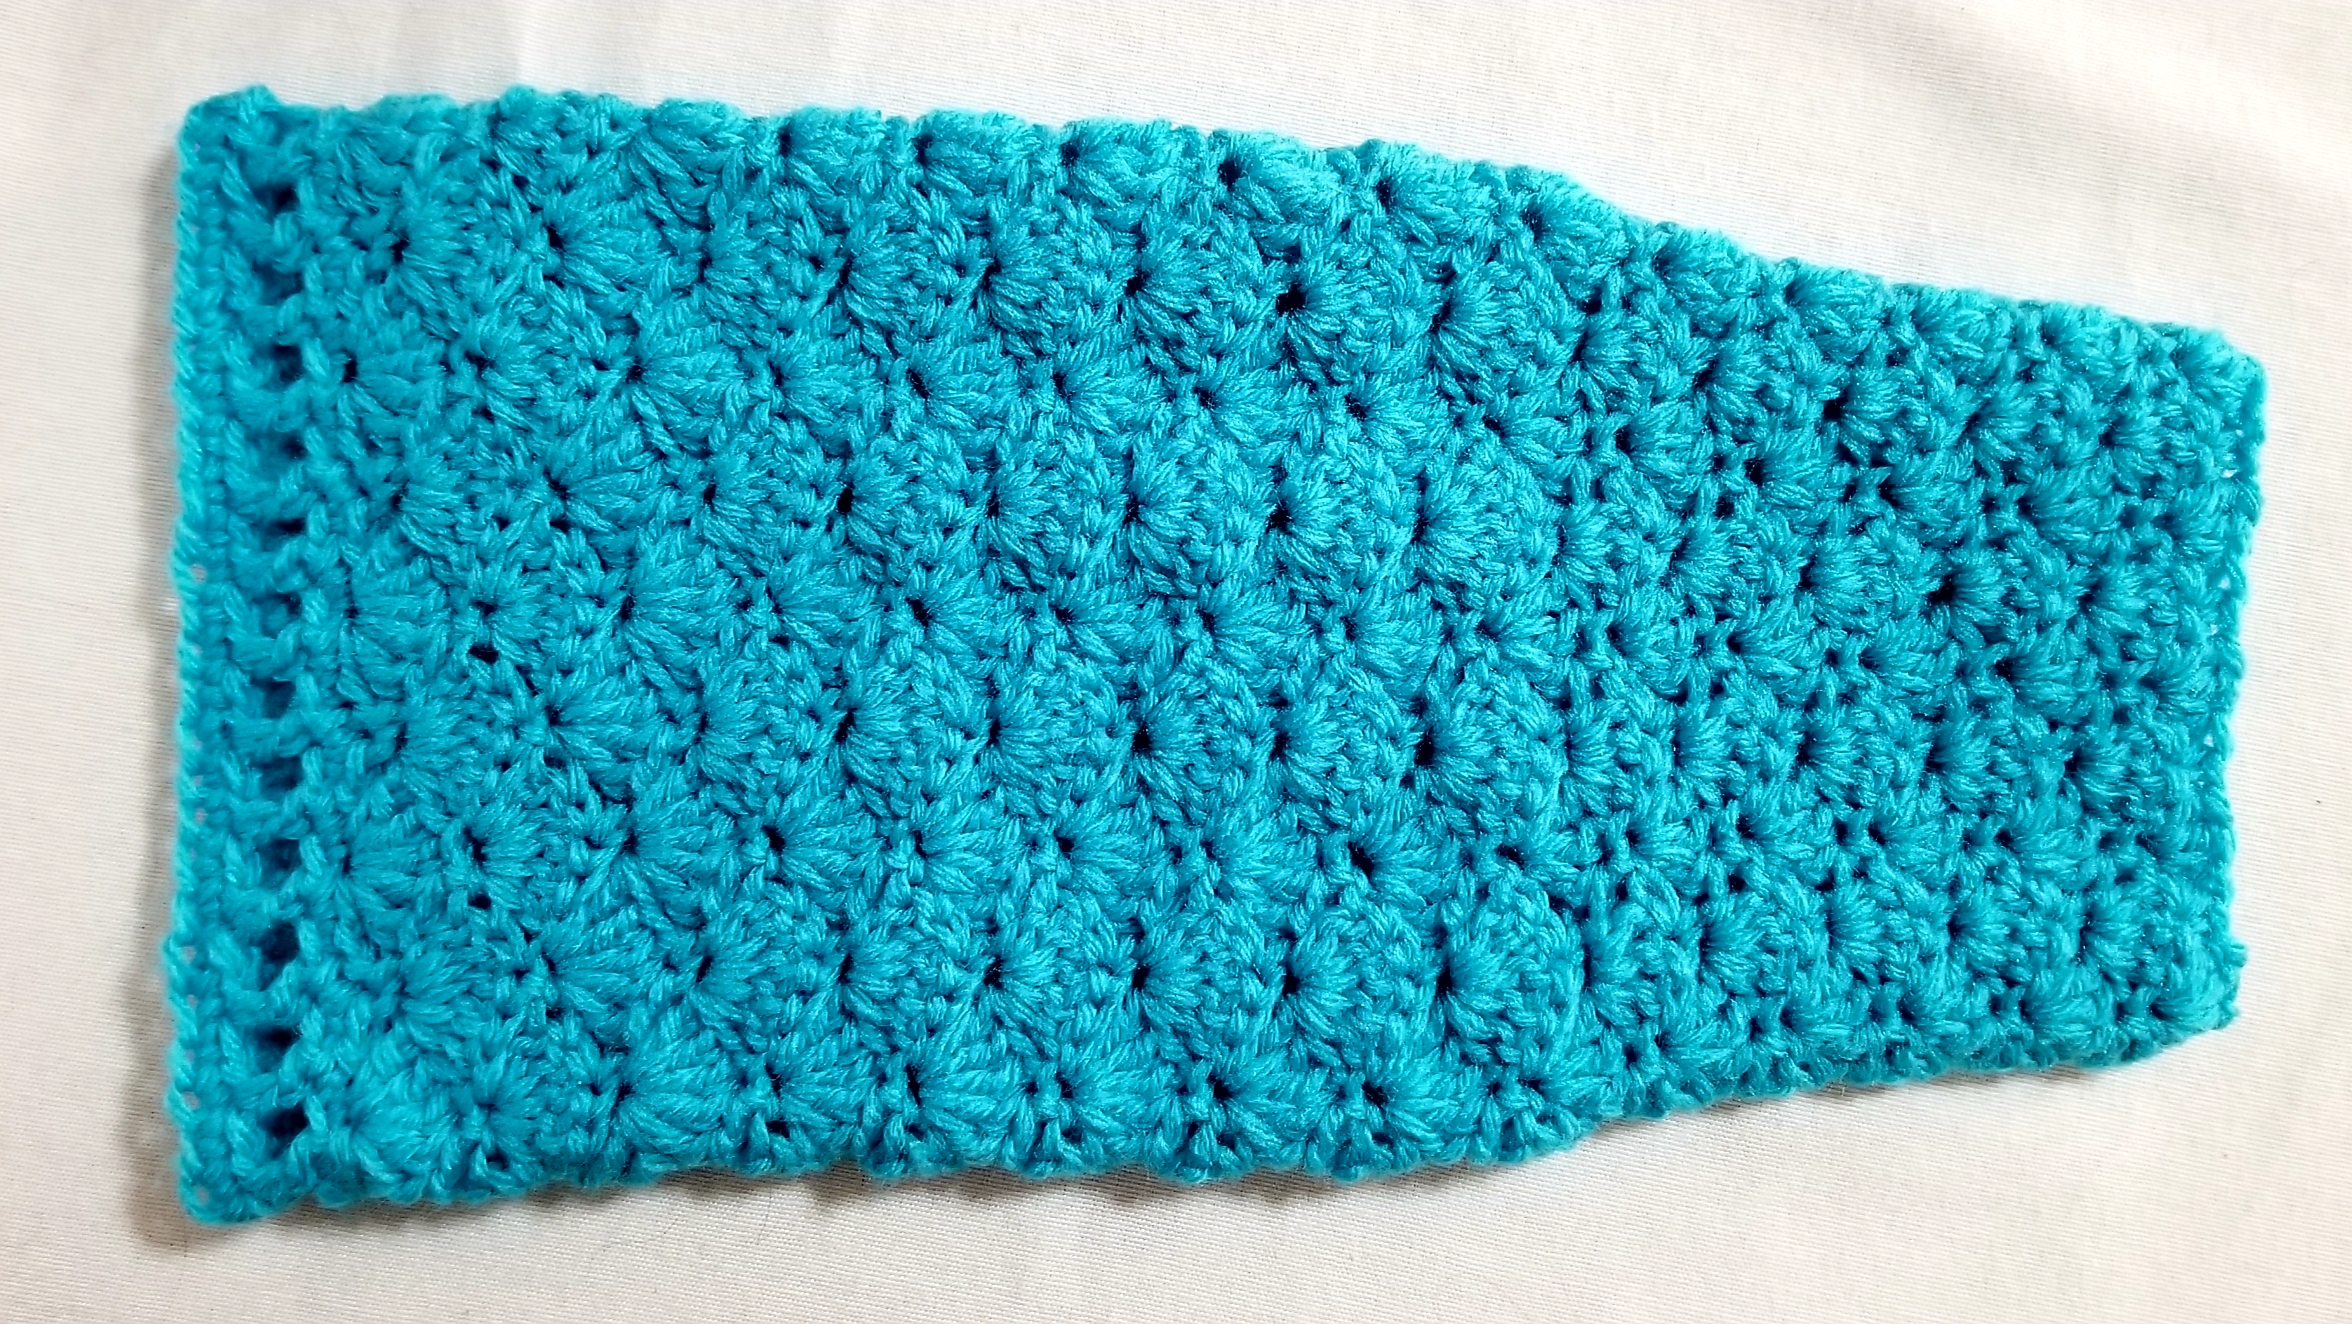
Rounds 7-20: Repeat Rounds 5 – 6 seven times. Count 16 shell rounds completed with 9 shells in each. (For 14.5 inch dolls, repeat Rounds 5 – 6 nine more times. Count 20 shell rounds completed with 6 shells in each. — This will sit at waist of 14.5 inch doll. If you would like a longer body tube, repeat this round to achieve desired length — Fasten off. Weave in excess yarn. Trim. Skip to “Instructions for FIN” and follow through to the end of the pattern instructions. Enjoy!)

Round 21: Ch 1, TURN! (Then the same shell pattern, but instead of the 5dc, do only 3dc) Sc in same stitch as ch 1, *skip 2 dc, 3 dc in sc, skip 2 dc, sc in next dc (the middle dc of shell)*. Repeat between from * to * 7 more times. Skip 2 dc, 3 dc in sc, skip 2 dc. Join with a sl st in 1st sc of round. Total of 9 shells with 3 dc each.
Round 22: Ch 3. TURN!1 dc in same stitch as ch 3, *skip 1 dc, sc in next dc (the middle dc of shell), skip 1 dc, 3 dc in next sc. *. Repeat from * to * 7 more times. Skip 1 dc, sc in next dc (the middle dc of shell), 1 dc in same stitch as beginning ch 3 of round. Join with a sl st in top of ch 3. Total of 9 shells with 3 dc each.
Round 23 – 30: Repeat Rounds 21 – 22 four more times.
Round 31: Ch 1, TURN! Sc in same stitch as ch 1. *Skip 1 dc, (hdc, dc, hdc) in next sc. Skip 1 dc, sc in next dc*. Repeat from * to * 7 more times. Skip Skip 1 dc, (hdc, dc, hdc) in next sc. Skip 1 dc. Join with a sl st into 1st sc of round. Fasten off. Weave in excess yarn. Trim.
Count 10 shell rounds (with 3 dc in each shell) completed. Total number of shell rounds from top to bottom is 26.
INSTRUCTIONS FOR FIN:
How to do a dc2tog stitch: YO, insert hook into next stitch, YO, pull through stitch, YO, pull through 2 loops on hook, YO, insert hook into next stitch, YO, pull through stitch, YO, pull through 2 loops on hook, YO, pull through last 3 loops on hook.
For the first half of the fin, you will decrease the number of stitches with each row completed.
Row 1: Ch 23. Dc in fourth ch from hook and dc in next 17 ch across. Total of 19 dc, counting first ch 3. Dc2tog over last two ch stitches.
Row 2: Ch 3, TURN! Dc2tog over next 2 stitches. Dc in each dc across and in top of ch 3. Total of 17 dc.
Row 3: Ch 3. TURN! Dc in next 15 dc across — Total of 16 dc, counting first ch 3. Dc2tog over last dc and dc2tog.

Row 4: Ch 3, TURN! Dc2tog over next 2 stitches. Dc in each dc across and in top of ch 3. Total of 14 dc.
Row 5: Ch 3. TURN! Dc in nest 12 dc across. Total of 13 dc, counting first ch 3. Dc2tog over last dc and dc2tog.
Row 6: Ch 3, TURN! Dc2tog over next 2 stitches. Dc in each dc across and in top of ch 3. Total of 11 dc.
Row 7: Ch 3. TURN! Dc in next 9 dc across. Total of 10 dc, counting first ch 3. Dc2tog over last dc and dc2tog.
Row 8: Ch 3, TURN! Dc2tog over next 2 stitches. Dc in each dc across and in top of ch 3. Total of 8 dc.
Row 9: Ch 3. TURN! Dc in next 6 dc across. Total of 7 dc, counting first ch 3. Dc2tog over last dc and dc2tog.
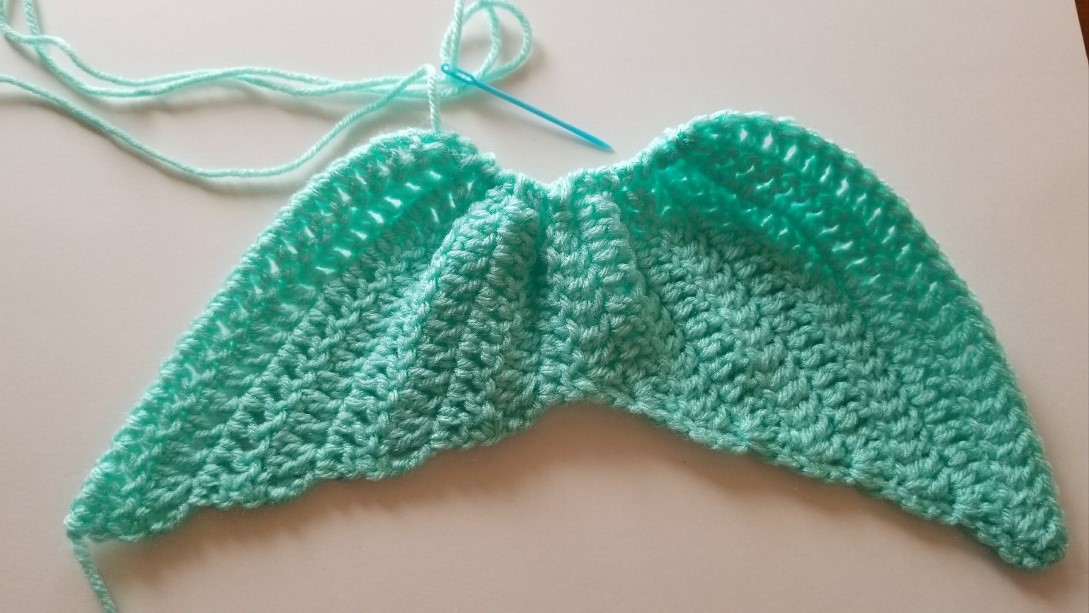
For the second half of the fin, you will increase the number of stitches with each row completed.
Row 10: Ch 3 (counts as dc), TURN! 2 dc in same stitch at bottom of ch 3, dc in each dc across.
Row 11: Ch 3 (count as dc). TURN! dc in each dc. 3 dc in top of ch 3 of previous row.
Rows 12 – 17: Repeat Rows 10 and 11 three times.
Row 18: Ch 3. TURN! 2 dc in same stitch as ch 3, dc in each dc across. Continue to next section — Preparing and Attaching FIN to BODY.
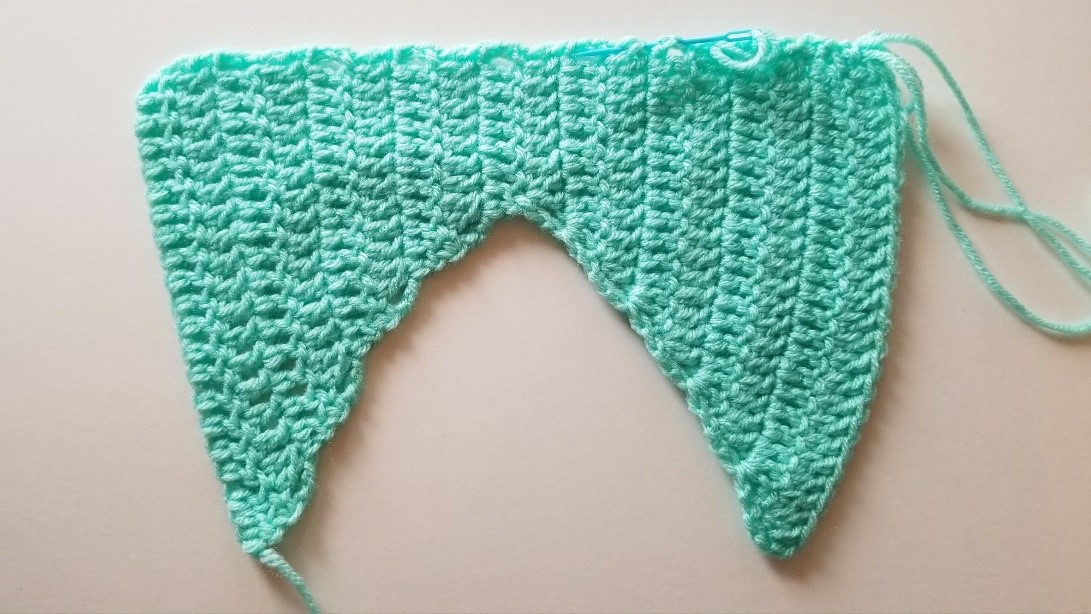
Figure Preparing and Attaching FIN to BODY:
Ch 1, Cut yarn leaving long tail of approximately 1-yard excess yarn. Pull through the ch 1 to secure. Thread excess yarn through plastic yarn needle. Using needle and excess thread, sew a running stitch along the outer crochet stitches at the top, straight edge of fin. Gently pull to gather the fin
Turn body inside out. Place fin inside of body with gathered edge aligned with narrow edge of body. Adjust gathers of fin to be equally distributed and the same width as the body opening. Continue using plastic yarn needle and excess yarn to hand sew fin securely to body using a whip stitch. Be sure to sew through all layers.
Turn right side out to double check that everything is sewn correctly before you fasten off. Fasten off. Weave in any excess yarn. Trim.

Cut 1 yard of Red Heart Boutique Washy Metallic OR ribbon or cording. Knot ends. Lace through openings at waistband so that tie will be at the front. Dress doll in mermaid tail and tighten drawstring waistband to fit doll. Tie in a bow. Enjoy your mermaid doll!

(c) 2017 to Present Patricia J Angus of Granny’s Crochet Shoppe.
Revised May 2018. All rights reserved. Pattern and photos may not be reproduced or distributed in any manner.
Make as many doll mermaid tails as you desire to sell in your shops and for fundraisers! Please include a link to http://grannyscrochetshoppe.com when possible. THANK YOU!

13 thoughts on “Mermaid Tail for 18″ and 14.5″ Doll”
Susie O'Mohundro
I am unable to print of download this super cute pattern. Is there a trick?
LikeLike
pjangus
You should be able to click the “print” button, and it will go to the printer. If that’s not working, try highlighting the area you want printed and choose print the selection on your print dialog. It should print as it appears on the screen, as there is no need to download. Let me know if you still have trouble after trying that. …and THANKS for the compliment on the pattern! 🙂
LikeLike
betty howell
Thank you granny this is all my 5 year old great grand daughter wants for Christmas from me ,MERRY Christmas and a very happy new year
LikeLike
pjangus
I hope she enjoyed her doll mermaid tail! I’m sorry. Somehow missed this comment during the holidays.
LikeLike
Melissa
Thanks for posting this! I’m going to make each of our twins one of these for Christmas!
LikeLike
pjangus
They will love it! Merry Christmas!
LikeLike
Judy Anderson
I can’t print or download pattern. I would love to make it for my great grand daughter
LikeLiked by 1 person
pjangus
Hi Judy! I am so sorry ai missed seeing your message buried in the holiday rush! I’m not sure why the pattern is not printing for you. There should be a print icon in WordPress that enables you to print the page with the pattern on it. Look for that, and see if that works for you. If not, let me know, and I’ll see what else we can do.
LikeLike
A Barney
Advertising this pattern then finding the catch is absolutely bad business!! Unfair to your clients!
LikeLike
pjangus
What link did you use to get to this pattern? The links on MY site clearly state this is a sneak peek, so if you could let me know how you got to the page, I can try to fix the problem. Thank you for your comment.
LikeLike
pjangus
Please check your email for the complete pattern.
LikeLike
June Bonfield
Thank you so much for this!
LikeLike
pjangus
You are so welcome!
LikeLike