Halloween Treat Bag

This is a FREE Pattern for you to Enjoy!
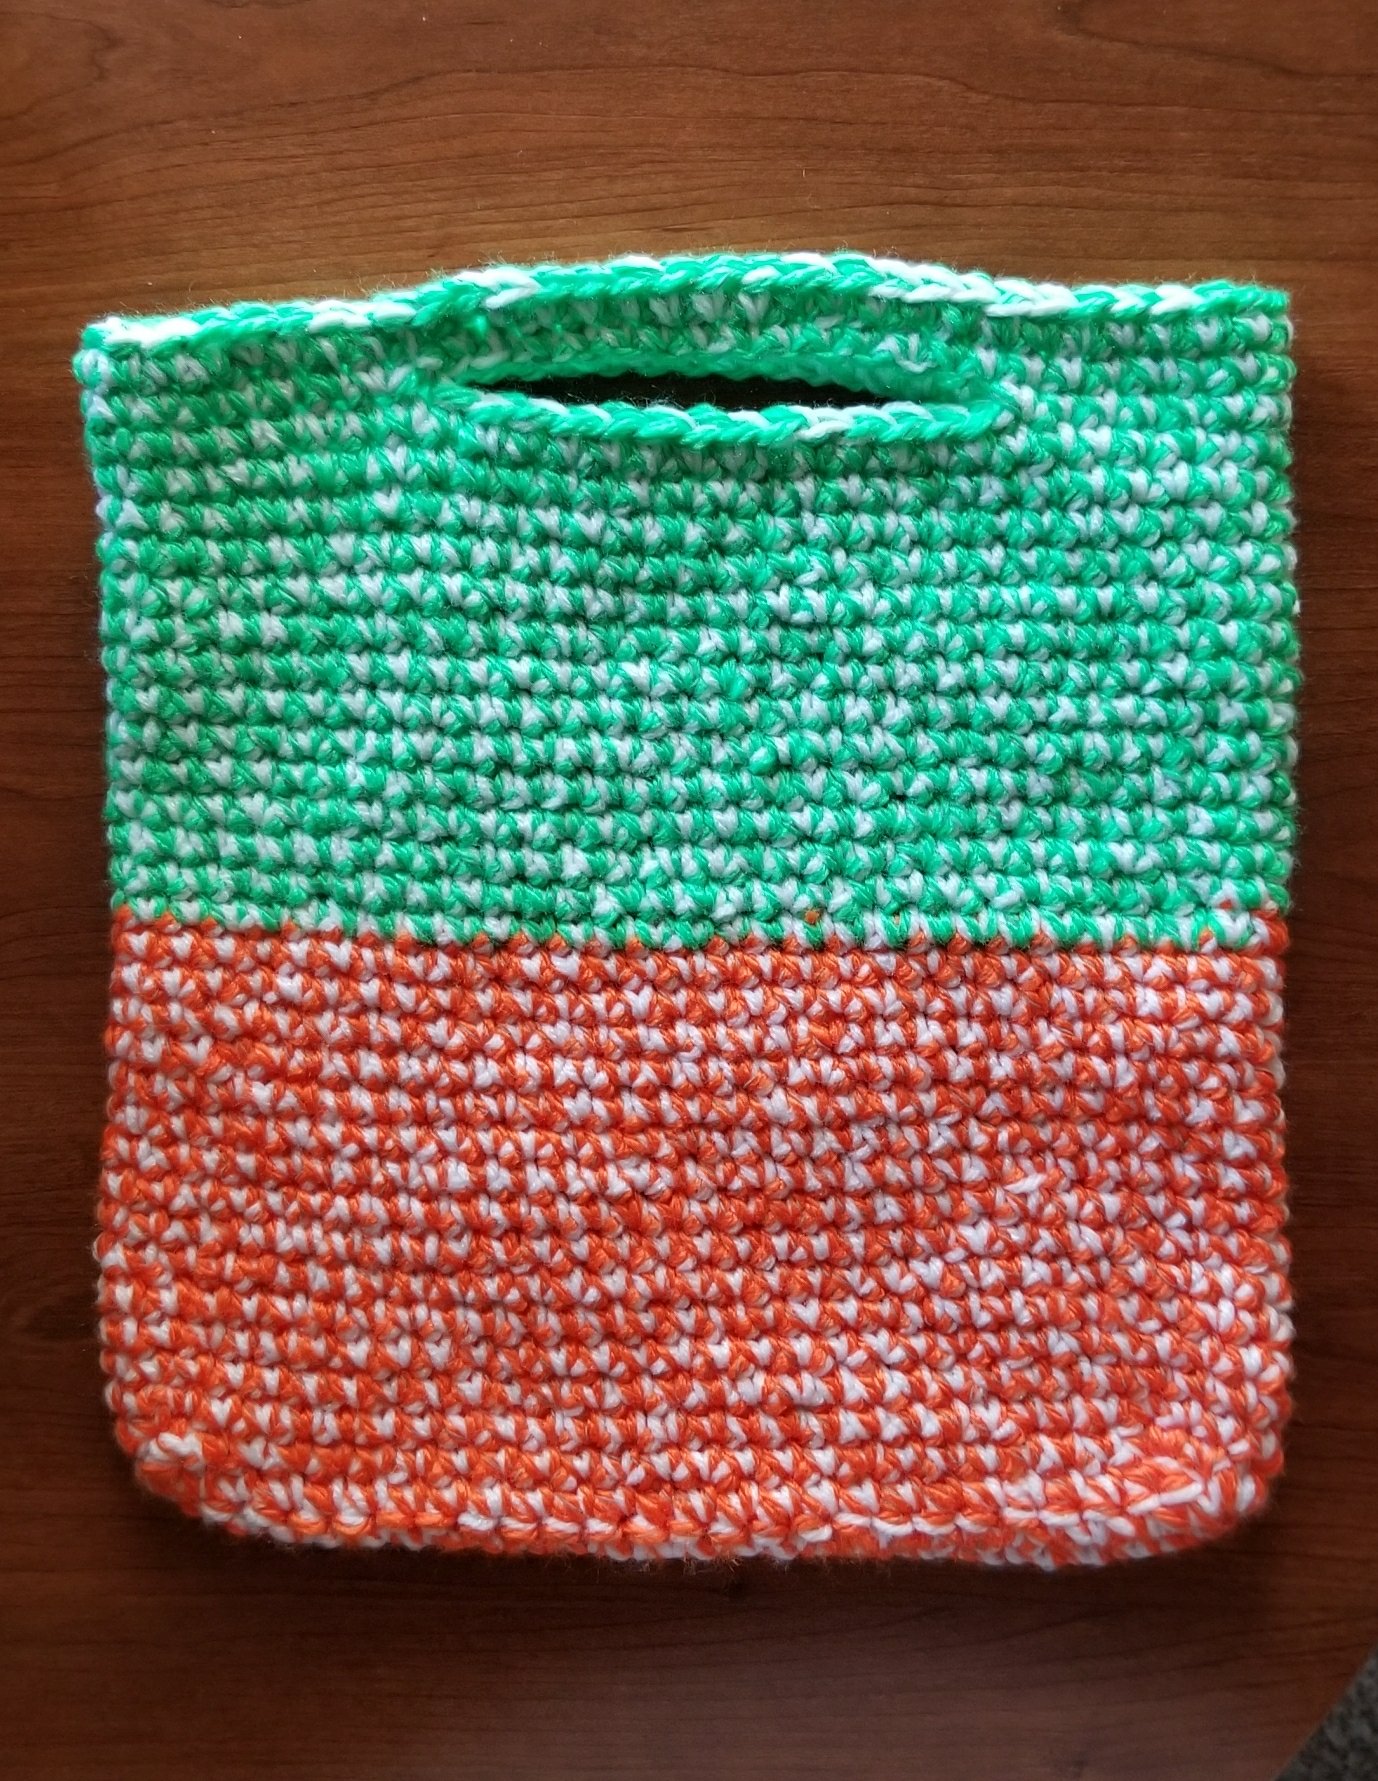
I designed this Halloween Treat Bag to incorporate both a white color and reflective yarn so that the little ones in my life would be more visible while Trick-or-Treating at night. The reflective yarn comes in skeins of 88 yards, so 2 skeins are needed whether you want to use the same or different colors throughout. I used two colors, because that is what I had on hand. You could make a different color for each child or make stripes of many colors depending upon where your creativity leads you!
MATERIALS:
- 1 skein Red Heart Super Saver yarn — white
- 2 skeins Red Heart Reflective yarn — both the same color or 2 different colors
- K / 6.50 mm crochet hook
- Plastic yarn needle
STITCHES:
- ch = chain
- sc = single crochet
- sl st = slip stitch
GAUGE: 5 sc or 6 rows = 2 inches
INSTRUCTIONS:
Crochet using a double strand of yarn — one strand of white and one strand of reflective — throughout pattern.
Row 1: ch 26, sc in back bump of 2nd ch from hook, sc in each ch across. Total 25 sc. Ch 1, Turn.

Rows 2-4: Sc in each sc across. Ch 1. Total 25 sc. Turn — (Do NOT turn after Row 4).
You will now begin crocheting in rounds. Try to keep stitches loose enough to facilitate using 2 strands of yarn.
Row 5: Sc in the next 4 stitches along the end of the rectangular piece. Keep going around the corner and sc in each stitch around. 58 total stitches (including 4 on each end and 25 along each side). Join with SC into 1st sc of round. Place stitch marker in the last sc made on the side facing you. This marks the front of bag and beginning of round. Move the marker up as each round is completed.

Round 5. The first 8 stitches with 4 along the end then around the corner. Actually the surface facing you will become the outside of the bag, even though it is curving inward on the photo.

Rows 6 – 29: Repeat Row 5 twenty-four more times, moving stitch marker up each time a round is completed. Maintain 58 total stitches for each round.
NOTE: At some point you will need to change colors or add a new skein of reflective yarn. (If changing colors, you may want to change colors at one edge of the bag so the color change is not so obvious). When you have about a 3-inch strand of reflective yarn remaining, add new yarn. Do NOT cut the white yarn!!! Be sure to leave about a 3-inch tail of the new reflective yarn strand as well. Insert hook into next sc, YO with new color, draw through the stitch, YO and draw through both loops on hook. As you make the next sc stitches, be sure to work in the 3-inch tails to secure.


Row 30: Make sure you moved your stitch marker up. Sc in next 15 stitches, ch 14, skip 14 sc, sc in next 15 stitches, ch 14, sl st into sc with stitch marker.

Row 31: Sc in each sc and ch around. sl st into sl st of previous row. (see optional Row 32) Fasten off. Weave in loose ends. Trim. Fill your bag with treats!
Row 32: (optional) If you have enough yarn left over after Row 31, slip stitch in each stitch around before joining and fastening off. This will provide extra strength to the handles.
Enjoy your completed Halloween Bag!
Pattern and photos (c) 2017 to present Patricia J. Angus of Granny’s Crochet Shoppe. All rights reserved.
Pattern and photos may not be reproduced or distributed in any manner. Please make as many treat bags as you desire to sell in your shops and for fundraisers! Please include a link to http://grannyscrochetshoppe.com when possible. THANK YOU!
